在这里我就不介绍如何在Linux上部署.Net Core以及进程守护监控等内容,如果需要可以查看之前发布的文章。
ASP.NET Core内置了Kestrel服务器,但功能简单,主要用于SelfHost,正式运行还是要依赖IIS、Apache、Nginx等功能全面的服务器,为ASP.NET Core程序提供类似缓存、压缩请求、SSL终端等高深的特性或功能。这两种服务器的关系是:Nginx、IIS等作为Kestrel的反向代理服务器。
Nginx中文文档:https://www.nginx.cn/doc/
#安装epelsudo yum -y install epel-release#安装Nginxsudo yum -y install nginx#启动Nginx,它不会自己启动sudo systemctl start nginx
#开放端口sudo firewall-cmd --zone=public --add-port=80/tcp --permanent#重启防火墙sudo firewall-cmd --reload

#Nginx默认是不主动开启的,为了能够在系统启动就开启Nginxsudo systemctl enable nginx
#编辑nginx.confsudo vim /etc/nginx/nginx.conf#进入文件后,按“i”或者“a”进入插入模式,插入下面的配置信息
进去注释掉http配置下server的默认配置内容
# For more information on configuration, see:# * Official English Documentation: http://nginx.org/en/docs/# * Official Russian Documentation: http://nginx.org/ru/docs/user nginx;worker_processes auto;error_log /var/log/nginx/error.log;pid /run/nginx.pid;# Load dynamic modules. See /usr/share/doc/nginx/README.dynamic.include /usr/share/nginx/modules/*.conf;events { worker_connections 1024;}http { log_format main ‘$remote_addr - $remote_user [$time_local] "$request" ‘ ‘$status $body_bytes_sent "$http_referer" ‘ ‘"$http_user_agent" "$http_x_forwarded_for"‘; access_log /var/log/nginx/access.log main; sendfile on; tcp_nopush on; tcp_nodelay on; keepalive_timeout 65; types_hash_max_size 2048; include /etc/nginx/mime.types; default_type application/octet-stream; # Load modular configuration files from the /etc/nginx/conf.d directory. # See http://nginx.org/en/docs/ngx_core_module.html#include # for more information. include /etc/nginx/conf.d/*.conf;# server {# listen 80 default_server;# listen [::]:80 default_server;# server_name _;# root /usr/share/nginx/html;## # Load configuration files for the default server block.# include /etc/nginx/default.d/*.conf;## location / {# }## error_page 404 /404.html;# location = /40x.html {# }## error_page 500 502 503 504 /50x.html;# location = /50x.html {# }# }# Settings for a TLS enabled server.## server {# listen 443 ssl http2 default_server;# listen [::]:443 ssl http2 default_server;# server_name _;# root /usr/share/nginx/html;## ssl_certificate "/etc/pki/nginx/server.crt";# ssl_certificate_key "/etc/pki/nginx/private/server.key";# ssl_session_cache shared:SSL:1m;# ssl_session_timeout 10m;# ssl_ciphers HIGH:!aNULL:!MD5;# ssl_prefer_server_ciphers on;## # Load configuration files for the default server block.# include /etc/nginx/default.d/*.conf;## location / {# }## error_page 404 /404.html;# location = /40x.html {# }## error_page 500 502 503 504 /50x.html;# location = /50x.html {# }# }}
#按ESC,输入命令保存配置文件:wq (保存编辑操作退出):wq! (保存编辑强制退出):w ! sudo tee %
注释完原来的映射之后,我们需要在/etc/nginx/conf.d文件夹下为.Net Core项目新建一个DemoNetCore.conf文件,文件配置如下
#进入conf.d文件夹cd /etc/nginx/conf.d#创建配置文件sudo touch DemoNetCore.conf#编辑配置文件sudo vim DemoNetCore.conf#配置文件信息server { listen 80; location / { proxy_pass http://localhost:8081; proxy_http_version 1.1; proxy_set_header Upgrade $http_upgrade; proxy_set_header Connection keep-alive; proxy_set_header Host $host; proxy_cache_bypass $http_upgrade; }}
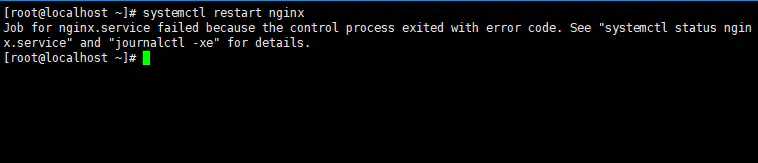
配置好之后重启Nginx,重启的时候可能会直接报错,如下图
#重启Nginxsudo systemctl restart nginx
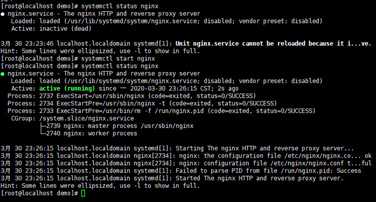
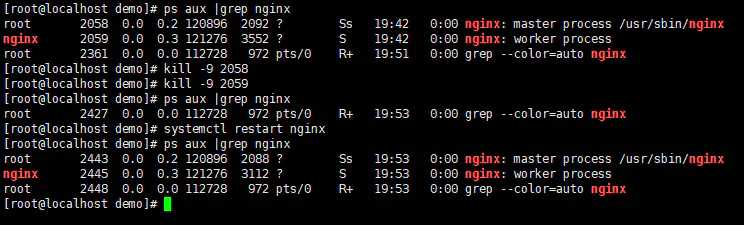
这个时候我们先找到Nginx相关进程,然后直接干掉,然后再启动
#查看Nginx进程ps aux | grep nginx#杀死相关进程sudo kill -9 2058sudo kill -9 2059#重启Nginxsudo systemctl restart nginx
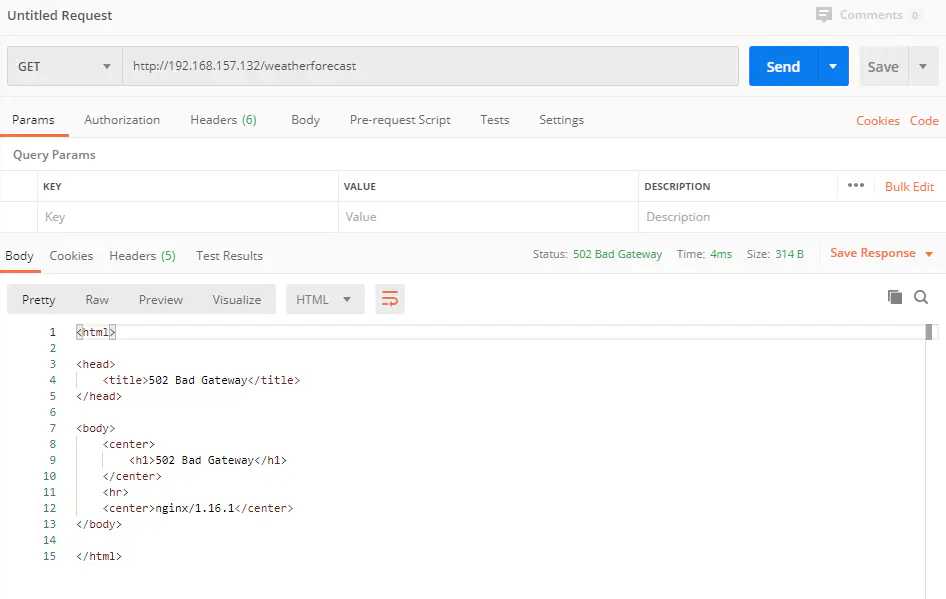
这里显示502 Bad Gateway,原因是SELinux配置的问题
安全增强型 Linux(Security-Enhanced Linux)简称 SELinux,它是一个 Linux 内核模块,也是 Linux 的一个安全子系统。
SELinux 主要由美国国家安全局开发。2.6 及以上版本的 Linux 内核都已经集成了 SELinux 模块。
SELinux 的结构及配置非常复杂,而且有大量概念性的东西,要学精难度较大。很多 Linux 系统管理员嫌麻烦都把 SELinux 关闭了。
如果可以熟练掌握 SELinux 并正确运用,我觉得整个系统基本上可以到达"坚不可摧"的地步了(请永远记住没有绝对的安全)。
掌握 SELinux 的基本概念以及简单的配置方法是每个 Linux 系统管理员的必修课。
所以出现这个问题有两种解决方案:
①、直接关闭SELinux
#进入SELinux目录cd /etc/selinux#编辑selinux config配置文件sudo vim config#修改配置:SELINUX=disabled,保存退出
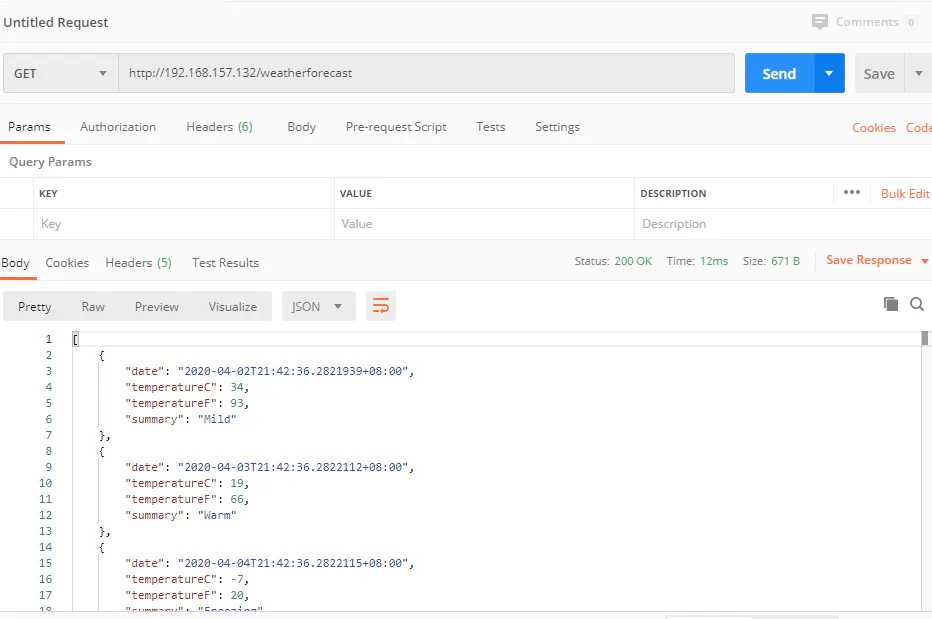
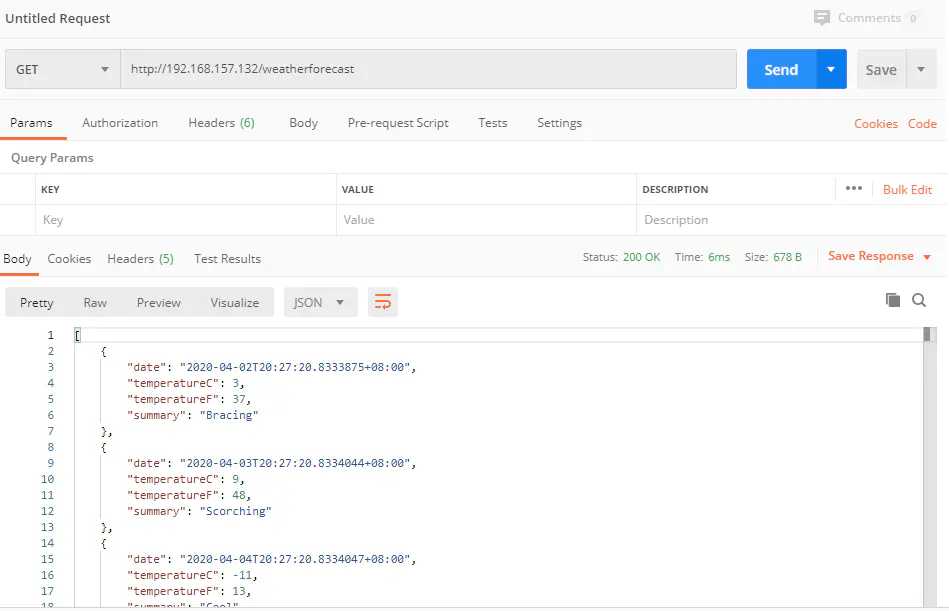
保存好之后,从enforcing或permissive改为diabled,需要重启系统之后才能生效。当我们重启之后,可以看到下图访问正常了。
②、将Nginx添加至SELinux的白名单
yum -y install policycoreutils-python cat /var/log/audit/audit.log | grep nginx | grep denied | audit2allow -M mynginx semodule -i mynginx.pp