
一、创建项目
(1)进入到https://aistudio.baidu.com/aistudio/projectoverview/public
(2)创建项目
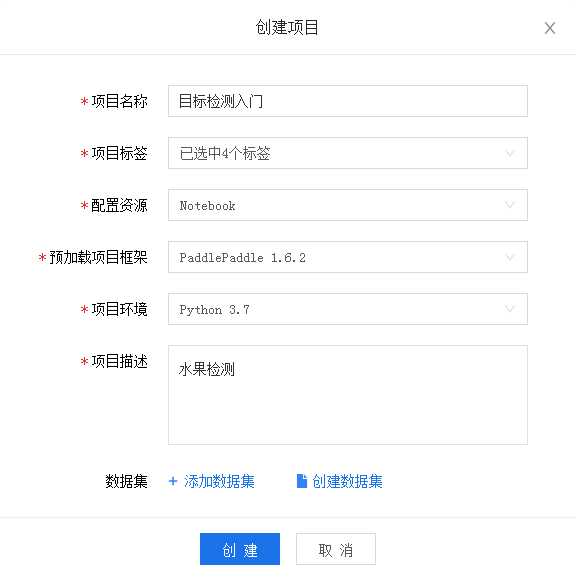
点击添加数据集:找到这两个
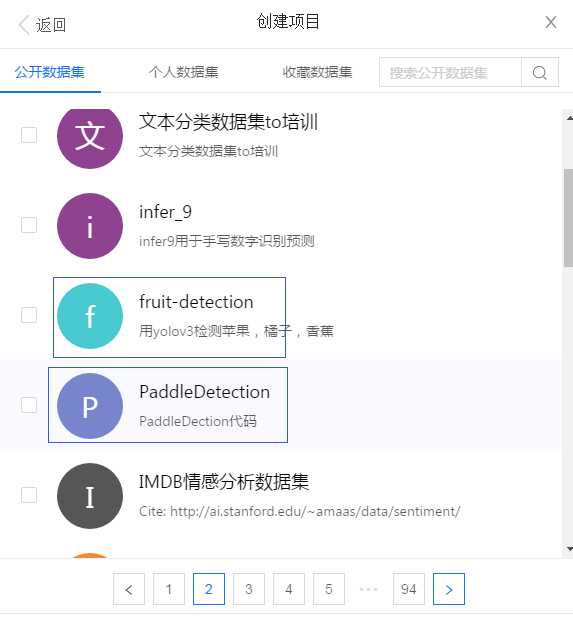
然后创建即可。
会生成以下项目:
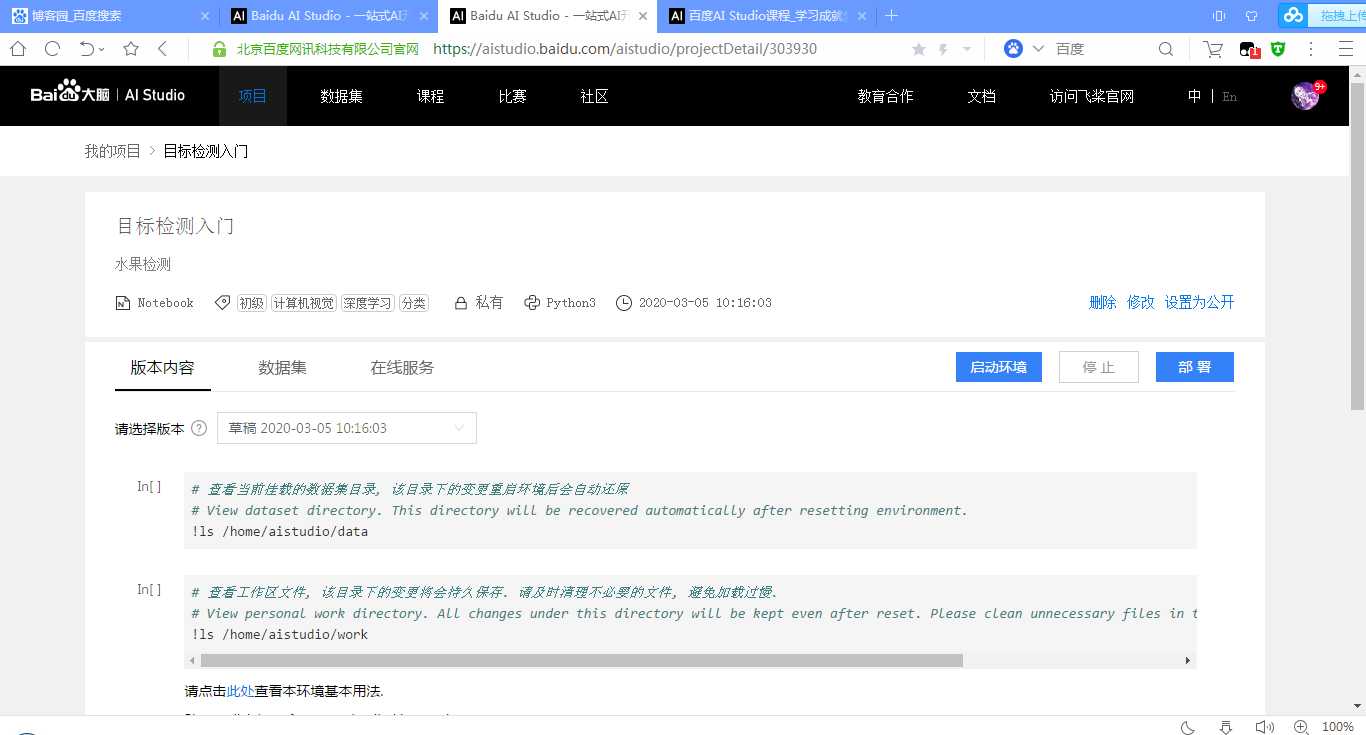
二、启动环境,选择GPU版本
然后会进入到以下界面
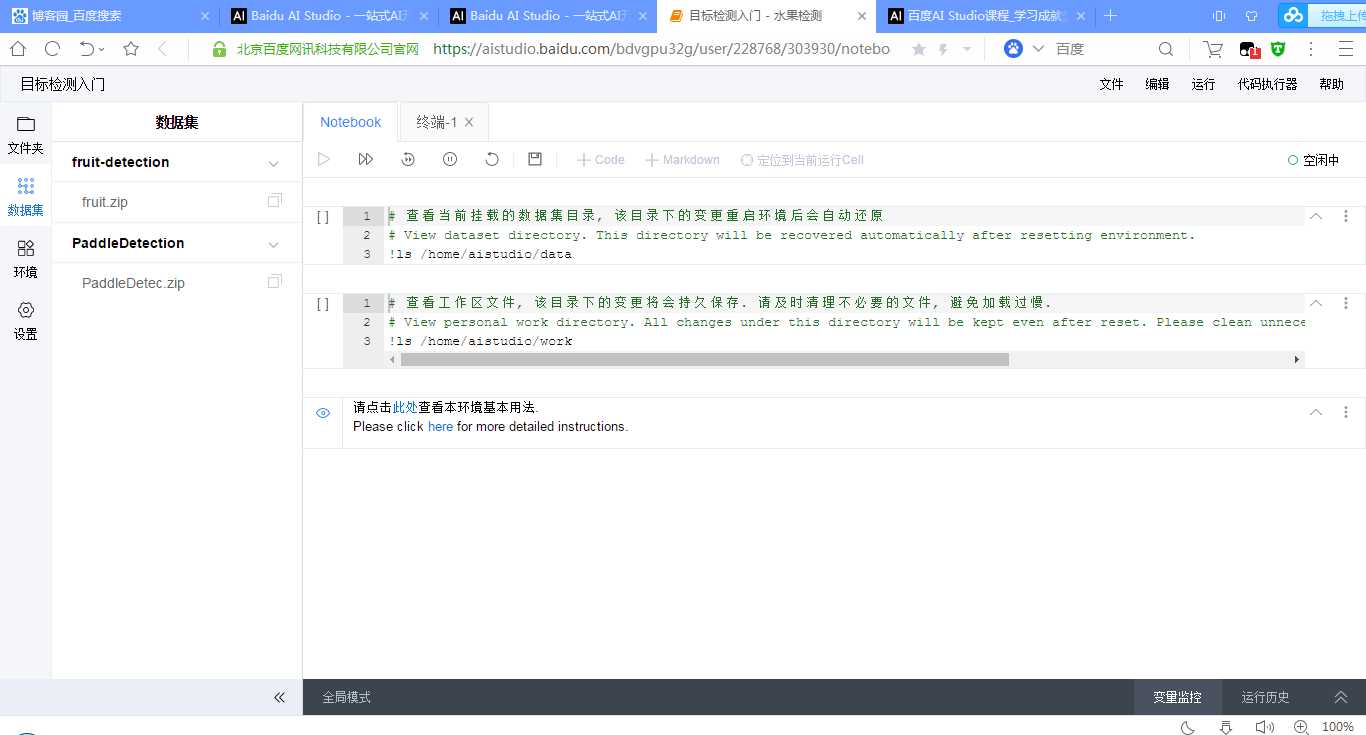
选择的两个压缩包在/home/aistudio/data/下,先进行解压:
!unzip /home/aistudio/data/data15067/fruit.zip
!unzip /home/aistudio/data/data15072/PaddleDetec.zip
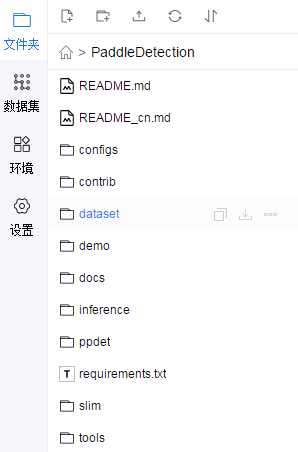
之后在左边文件夹就可以看到解压后的内容了:
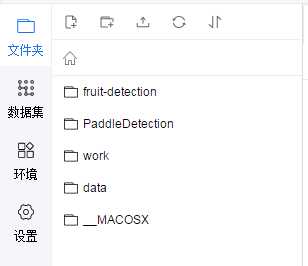
三、查看fruit-detection中的内容:
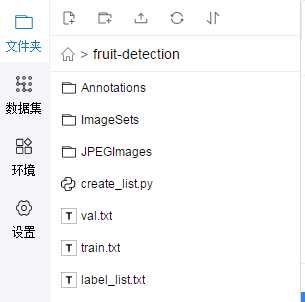
其实是类似pascal voc目标检测数据集的格式
(1) Annotations
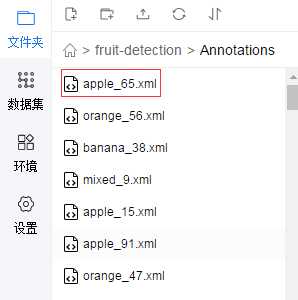
以第一个apple_65.xml为例:
folder:文件夹名称
filename:图片名称
path:文件地址
size:图片的大小
object:图片中的对象名称以及其的左下角和右上角的坐标。
<annotation>
    <folder>train</folder>
    <filename>apple_65.jpg</filename>
    <path>C:\tensorflow1\models\research\object_detection\images\train\apple_65.jpg</path>
    <source>
        <database>Unknown</database>
    </source>
    <size>
        <width>800</width>
        <height>600</height>
        <depth>3</depth>
    </size>
    <segmented>0</segmented>
    <object>
        <name>apple</name>
        <pose>Unspecified</pose>
        <truncated>0</truncated>
        <difficult>0</difficult>
        <bndbox>
            <xmin>70</xmin>
            <ymin>25</ymin>
            <xmax>290</xmax>
            <ymax>226</ymax>
        </bndbox>
    </object>
    <object>
        <name>apple</name>
        <pose>Unspecified</pose>
        <truncated>0</truncated>
        <difficult>0</difficult>
        <bndbox>
            <xmin>35</xmin>
            <ymin>217</ymin>
            <xmax>253</xmax>
            <ymax>453</ymax>
        </bndbox>
    </object>
    <object>
        <name>apple</name>
        <pose>Unspecified</pose>
        <truncated>0</truncated>
        <difficult>0</difficult>
        <bndbox>
            <xmin>183</xmin>
            <ymin>177</ymin>
            <xmax>382</xmax>
            <ymax>411</ymax>
        </bndbox>
    </object>
    <object>
        <name>apple</name>
        <pose>Unspecified</pose>
        <truncated>0</truncated>
        <difficult>0</difficult>
        <bndbox>
            <xmin>605</xmin>
            <ymin>298</ymin>
            <xmax>787</xmax>
            <ymax>513</ymax>
        </bndbox>
    </object>
    <object>
        <name>apple</name>
        <pose>Unspecified</pose>
        <truncated>0</truncated>
        <difficult>0</difficult>
        <bndbox>
            <xmin>498</xmin>
            <ymin>370</ymin>
            <xmax>675</xmax>
            <ymax>567</ymax>
        </bndbox>
    </object>
    <object>
        <name>apple</name>
        <pose>Unspecified</pose>
        <truncated>0</truncated>
        <difficult>0</difficult>
        <bndbox>
            <xmin>333</xmin>
            <ymin>239</ymin>
            <xmax>574</xmax>
            <ymax>463</ymax>
        </bndbox>
    </object>
    <object>
        <name>apple</name>
        <pose>Unspecified</pose>
        <truncated>0</truncated>
        <difficult>0</difficult>
        <bndbox>
            <xmin>191</xmin>
            <ymin>350</ymin>
            <xmax>373</xmax>
            <ymax>543</ymax>
        </bndbox>
    </object>
    <object>
        <name>apple</name>
        <pose>Unspecified</pose>
        <truncated>0</truncated>
        <difficult>0</difficult>
        <bndbox>
            <xmin>443</xmin>
            <ymin>425</ymin>
            <xmax>655</xmax>
            <ymax>598</ymax>
        </bndbox>
    </object>
</annotation>
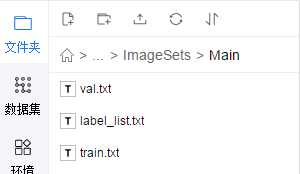
(2)ImageSets
里面只有一个文件夹Main,Main里面有:
分别看下是什么:
val.txt:验证集图片的名称
orange_92
banana_79
apple_94
apple_93
banana_81
banana_94
orange_77
mixed_23
orange_78
banana_85
apple_92
apple_79
apple_84
orange_83
apple_85
mixed_21
orange_91
orange_89
banana_80
apple_78
banana_93
mixed_22
orange_94
apple_83
banana_90
apple_77
orange_79
apple_81
orange_86
orange_95
banana_88
orange_85
orange_80
apple_80
apple_82
mixed_25
apple_88
banana_83
banana_77
banana_84
banana_92
banana_86
apple_87
orange_84
banana_78
orange_93
orange_90
banana_89
orange_82
apple_90
apple_95
banana_82
banana_91
mixed_24
banana_87
apple_91
orange_81
apple_89
apple_86
orange_87
train.txt:训练集图片的名称,这里就不贴了,有点长,与验证集类似
label_list.txt:类别名称
apple
banana
orange
也就是说,水果分类检测目前只是识别三类。
(3) JPEGImages:存储的就是实际的图片了

找一下apple_65.jpg看看
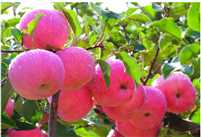
就是这个样子的
(4) create_list.py、label_list.txt、train.txt、val.txt
import os
import os.path as osp
import re
import random

devkit_dir = ‘./‘
years = [‘2007‘, ‘2012‘]


def get_dir(devkit_dir,  type):
    return osp.join(devkit_dir, type)


def walk_dir(devkit_dir):
    filelist_dir = get_dir(devkit_dir, ‘ImageSets/Main‘)
    annotation_dir = get_dir(devkit_dir, ‘Annotations‘)
    img_dir = get_dir(devkit_dir, ‘JPEGImages‘)
    trainval_list = []
    test_list = []
    added = set()

    for _, _, files in os.walk(filelist_dir):
        for fname in files:
            img_ann_list = []
            if re.match(‘train\.txt‘, fname):
                img_ann_list = trainval_list
            elif re.match(‘val\.txt‘, fname):
                img_ann_list = test_list
            else:
                continue
            fpath = osp.join(filelist_dir, fname)
            for line in open(fpath):
                name_prefix = line.strip().split()[0]
                if name_prefix in added:
                    continue
                added.add(name_prefix)
                ann_path = osp.join(annotation_dir, name_prefix + ‘.xml‘)
                img_path = osp.join(img_dir, name_prefix + ‘.jpg‘)
                assert os.path.isfile(ann_path), ‘file %s not found.‘ % ann_path
                assert os.path.isfile(img_path), ‘file %s not found.‘ % img_path
                img_ann_list.append((img_path, ann_path))

    return trainval_list, test_list


def prepare_filelist(devkit_dir, output_dir):
    trainval_list = []
    test_list = []
    trainval, test = walk_dir(devkit_dir)
    trainval_list.extend(trainval)
    test_list.extend(test)
    random.shuffle(trainval_list)
    with open(osp.join(output_dir, ‘train.txt‘), ‘w‘) as ftrainval:
        for item in trainval_list:
            ftrainval.write(item[0] + ‘ ‘ + item[1] + ‘\n‘)

    with open(osp.join(output_dir, ‘val.txt‘), ‘w‘) as ftest:
        for item in test_list:
            ftest.write(item[0] + ‘ ‘ + item[1] + ‘\n‘)


if __name__ == ‘__main__‘:
    prepare_filelist(devkit_dir, ‘.‘)
将标注信息转换为列表进行存储。
label_list.txt:还是那三种类别
train.txt:./JPEGImages/mixed_20.jpg ./Annotations/mixed_20.xml等一系列路径
val.txt:./JPEGImages/orange_92.jpg ./Annotations/orange_92.xml等一系列路径
至此fruit-dections中的内容就是这么多了。
四、查看PaddleDetection中的内容
(1) configs
各种网络的配置文件
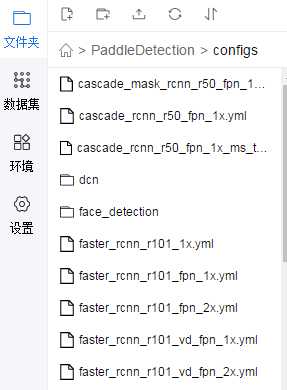
找到yolov3_mobilenet_v1_fruit.yml看看
architecture: YOLOv3
train_feed: YoloTrainFeed
eval_feed: YoloEvalFeed
test_feed: YoloTestFeed
use_gpu: true
max_iters: 20000
log_smooth_window: 20
save_dir: output
snapshot_iter: 200
metric: VOC
map_type: 11point
pretrain_weights: https://paddlemodels.bj.bcebos.com/object_detection/yolov3_mobilenet_v1.tar
weights: output/yolov3_mobilenet_v1_fruit/best_model num_classes: 3
finetune_exclude_pretrained_params: [‘yolo_output‘]

YOLOv3:
  backbone: MobileNet
  yolo_head: YOLOv3Head

MobileNet:
  norm_type: sync_bn
  norm_decay: 0.
  conv_group_scale: 1
  with_extra_blocks: false

YOLOv3Head:
  anchor_masks: [[6, 7, 8], [3, 4, 5], [0, 1, 2]]
  anchors: [[10, 13], [16, 30], [33, 23],
            [30, 61], [62, 45], [59, 119],
            [116, 90], [156, 198], [373, 326]]
  norm_decay: 0.
  ignore_thresh: 0.7
  label_smooth: true
  nms:
    background_label: -1
    keep_top_k: 100
    nms_threshold: 0.45
    nms_top_k: 1000
    normalized: false
    score_threshold: 0.01

LearningRate:
  base_lr: 0.00001
  schedulers:
  - !PiecewiseDecay
    gamma: 0.1
    milestones:
    - 15000
    - 18000
  - !LinearWarmup
    start_factor: 0.
    steps: 100

OptimizerBuilder:
  optimizer:
    momentum: 0.9
    type: Momentum
  regularizer:
    factor: 0.0005
    type: L2

YoloTrainFeed:
  batch_size: 1
  dataset:
 dataset_dir: dataset/fruit annotation: fruit-detection/train.txt
    use_default_label: false
  num_workers: 16
  bufsize: 128
  use_process: true
  mixup_epoch: -1
  sample_transforms:
  - !DecodeImage
    to_rgb: true
    with_mixup: false
  - !NormalizeBox {}
  - !ExpandImage
    max_ratio: 4.0
    mean: [123.675, 116.28, 103.53]
    prob: 0.5
  - !RandomInterpImage
    max_size: 0
    target_size: 608
  - !RandomFlipImage
    is_mask_flip: false
    is_normalized: true
    prob: 0.5
  - !NormalizeImage
    is_channel_first: false
    is_scale: true
    mean:
    - 0.485
    - 0.456
    - 0.406
    std:
    - 0.229
    - 0.224
    - 0.225
  - !Permute
    channel_first: true
    to_bgr: false
  batch_transforms:
  - !RandomShape
    sizes: [608]
  with_background: false

YoloEvalFeed:
  batch_size: 1
 image_shape: [3, 608, 608]
  dataset:
 dataset_dir: dataset/fruit annotation: fruit-detection/val.txt
    use_default_label: false


YoloTestFeed:
  batch_size: 1
 image_shape: [3, 608, 608]
  dataset:
 dataset_dir: dataset/fruit
 annotation: fruit-detection/label_list.txt
    use_default_label: false
注意标红的地方即可。
(2)contrib
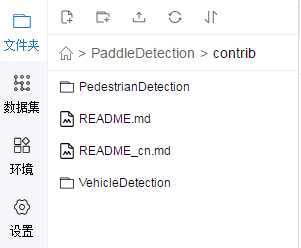
行人检测和车辆检测?暂时不用管
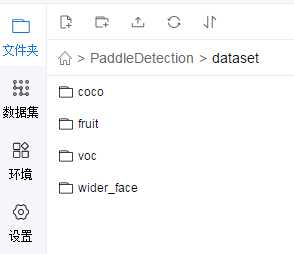
(3)dataset: 各文件夹下有py文件,用于下载数据集的
(4)demo:用于检测结果的示例图片。
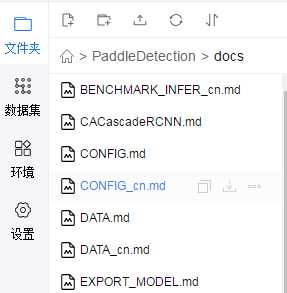
(5)docs:
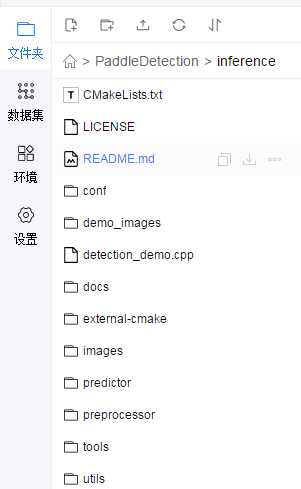
(6)inference: 用于推断的‘?
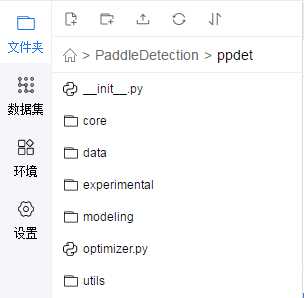
(7) ppdet:paddlepaddle检测相关文件
(8) requirements.txt:所需的一些依赖
tqdm
docstring_parser @ http://github.com/willthefrog/docstring_parser/tarball/master
typeguard ; python_version >= ‘3.4‘
tb-paddle
tb-nightly
(9)slim:应该是用于压缩模型的
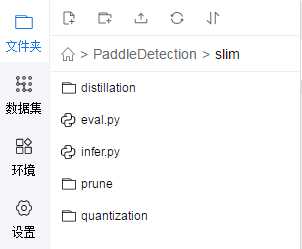
(10) tools:工具
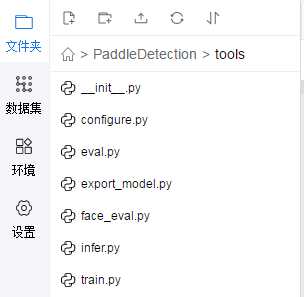
五、进行训练
训练的代码在tools中的train.py
进入到PaddleDection目录下
在终端输入:python -u tools/train.py -c configs/yolov3_mobilenet_v1_fruit.yml –use_tb=True — eval
如果发现错误No module named ppdet,在train.py中加入
import sys
sys.path.append(“/home/aistudio/PaddleDection”)即可
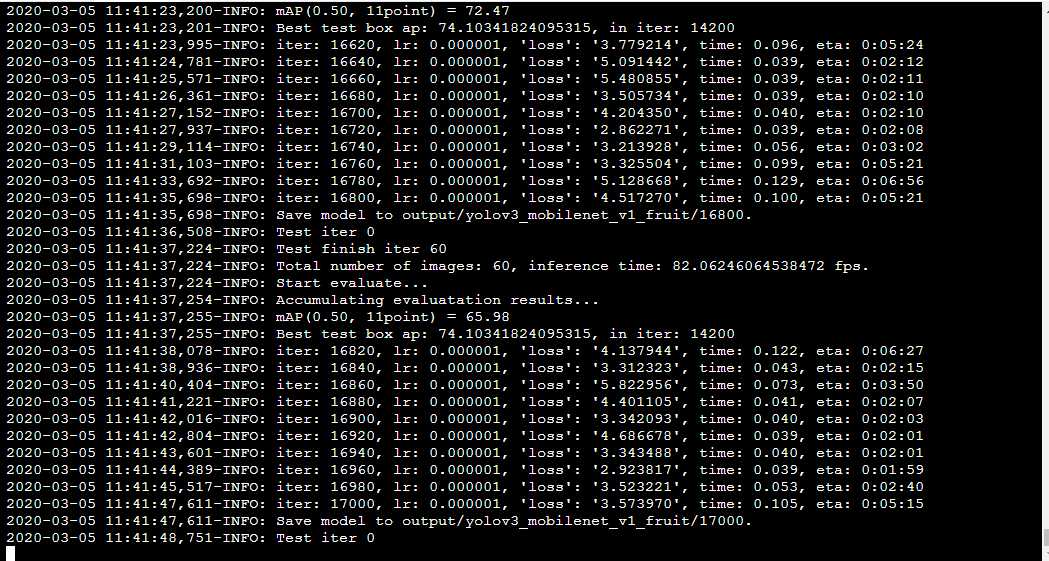
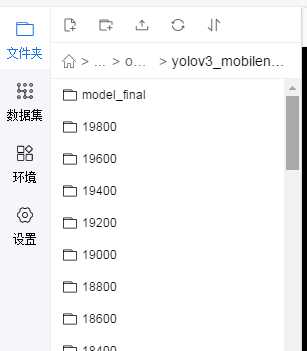
最后卡在了这,不过应该是训练完了,在PaddleDection目录下可以看到output文件夹:
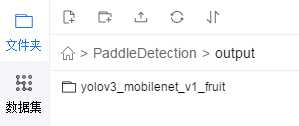
里面有一个迭代时产生的权重信息:
六、进行测试一张图片
python -u tools/infer.py -c configs/yolov3_mobilenet_v1_fruit.yml -o weights=/home/aisudio/PaddleDetection/output/yolov3_mobilenet_v1_fruit/model_final –infer_img=demo/orange_71.jpg
会报错没有相关包,输入以下命令安装:
pip install docstring_parser
pip install pycocotools
之后:

去output下看看orange_71.jpg:
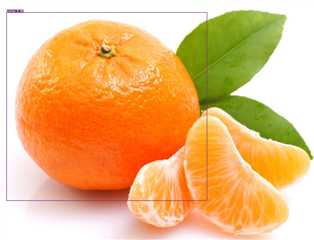
检测出来的是orange,准确率:94%。
知道了检测训练的整个流程,那么去手动标注poscal voc格式的数据,那么就可以实现检测自己想要的东西了。 然后也可以去看下相关目标检测的论文,明白其中的原理,看看源码之类的。