
Object Detection API是谷歌开放的一个内部使用的物体识别系统。2016年 10月,该系统在COCO识别挑战中名列第一。它支持当前最佳的实物检测模型,能够在单个图像中定位和识别多个对象。该系统不仅用于谷歌于自身的产品和服务,还被推广至整个研究社区。
一、代码位置与内置的模型
1、Object Detection
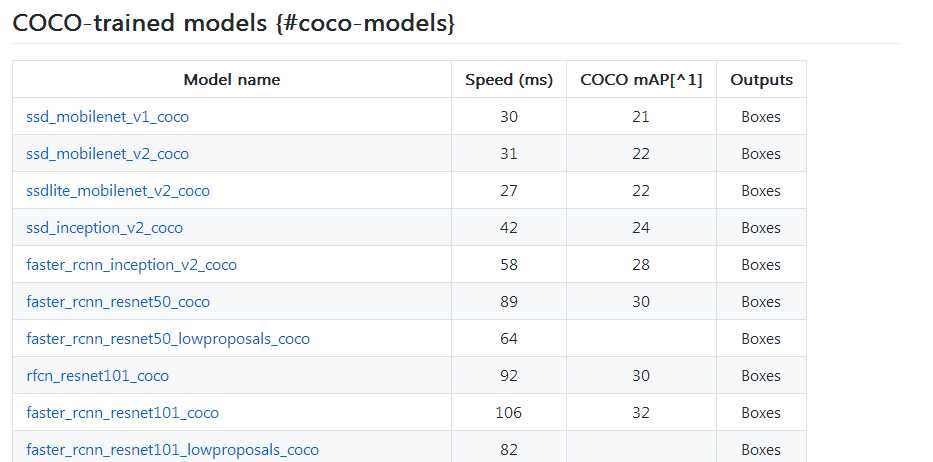
Object Detection 模块的位置与slim的位置相近,同在github.com 中TensorFlow 的models\research目录下。类似slim, Object Detection也囊括了各种关于物体检测的各种先进模型:
- 带有MobileNets的SSD (Single Shot Multibox Detector)。
- 带有Iception V2的SSD.
- 带有Resnet 101的R-FCN (Region-Based Fully Convolutional Networks)。
- 带有Resnet 101的Faster RCNN。
- 带有Inception-Resenet v2的Faser RCNN。
上述每一个模型的冻结权重 (在COCO数据集上训练)可被直接加载使用。
SSD模型使用了轻量化的MobileNet,这意味着它们可以轻而易举地在移动设备中实时使用。谷歌使用了 Fast R-CNN模型需要更多计算资源,但结果更为准确。
2、COCO数据集
在在实物检测领域,训练模型的最权威数据集就是COCO数据集。
COCO数据集是微软发布的一个可以用来进行图像识别训练的数据集,官方网址为http://mscoco.org 其图像主要从复杂的日常场景中截取,图像中的目标通过精确的segmentation进行位置的标定。
COCO数据集包括91类目标,分两部分发布,前部分于2014年发布,后部分于2015年发布。
- 2014年版本:训练集有82783个样本,验证集有40504个样本,测试集有40775个样本,有270KB的人物标注和886KB的物体标注。
- 2015年版木:训练集有165482个样本,验证集有81208个样本,测试集有81434个样本。
二 、准备工作
1.获取protobuf
Objet Detection API使用protobufs来配置模型和训练参数,这些文件以”.proto”的扩展名放models\research\object_detection\protos下。在使用框架之前,必须使用protobuf库将其编译成py文件才可以正常运行。protobuf库的下载地址为https://github.com/google/protobuf/releases/tag/v2.6.1
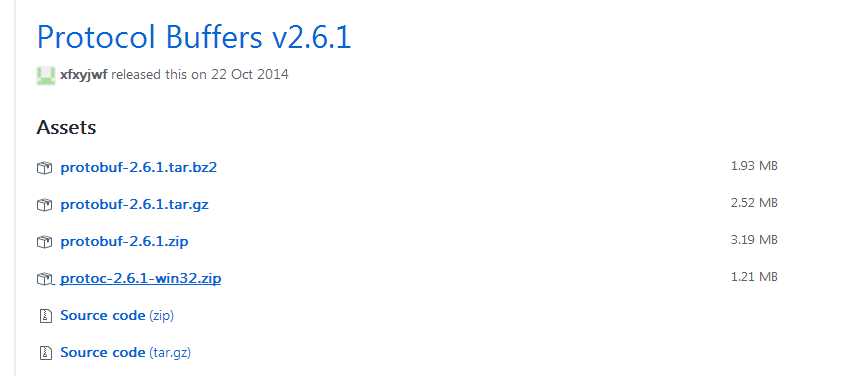
下载并解压protoc-2.6.1-win32.zip到models\research路径下。
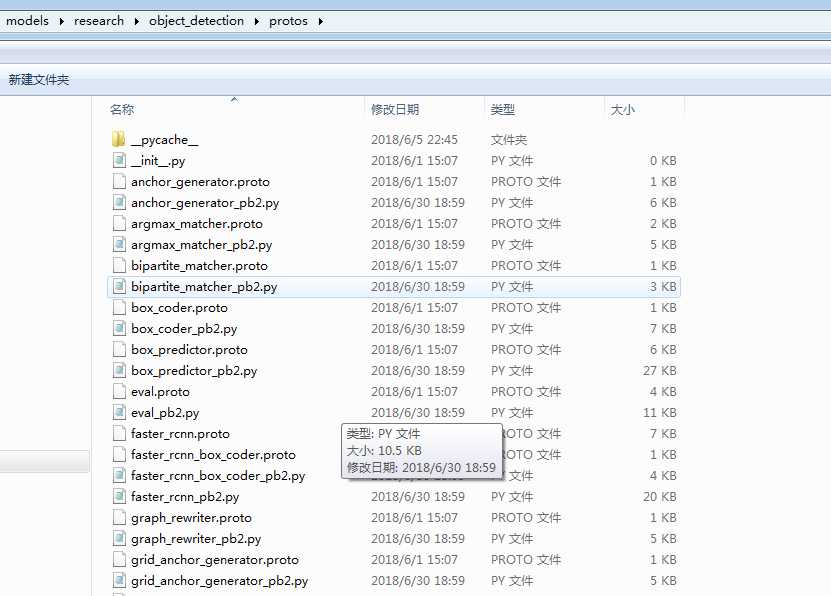
2、编译proto配置文件
打开cmd命令行,进入models\research目录下,执行如下命令
protoc.exe object_detection/protos/*.proto --python_out=.

如果不显示任何信心,则表明运行成功了,为了检验成功效果,来到models\research\object_detection\protos下,可以看到生成很多.py文件。
3、检查API是否正常
如果前面两步都完成了,下面可以测试一下object detection API是否可以正常使用,还需要两步操作:
- 将models\research\slim下的nets文件夹复制出来放到models\research下。
- 将models\research\object_detection\builders下的model_builder_test.py复制到models\reasearch下。
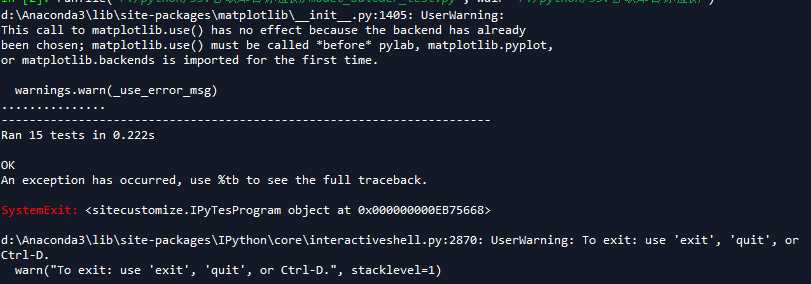
表明object detection API一切正常,可以使用、
4、将Object Detection API加入Python库默认搜索路径
为了不用每次都将文件复制到Object Detection文件夹外,可以将Object Detection加到python引入库的默认搜索路径中,将Object Detection文件整个复制到anaconda3安装文件目录下lib\site-packages下:
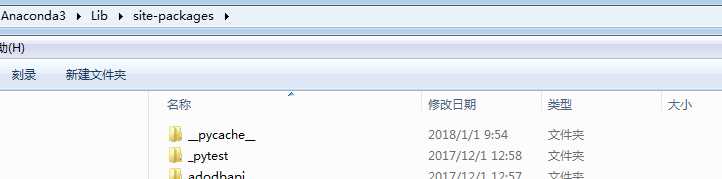
这样无论文件在哪里,只要搜索import Objec Detection xxx,系统到会找到Objec Detection。
三 执行已经训练好的模型
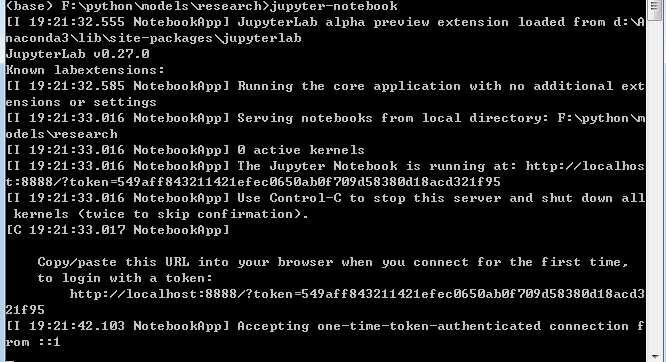
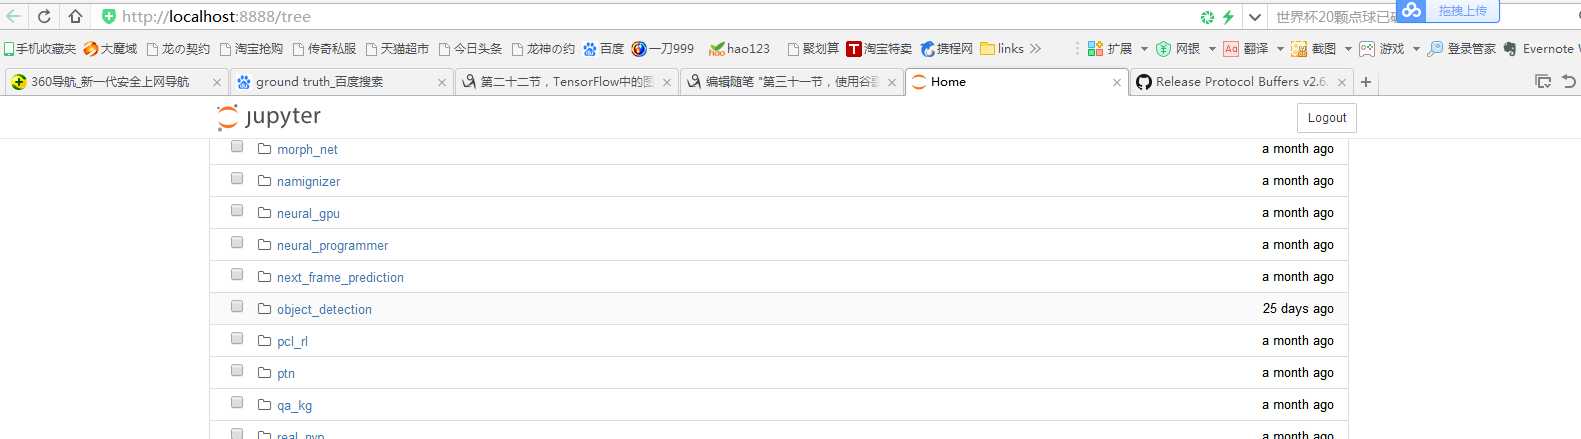
之前已经说过Objec Detection API默认提供了5个预训练模型。他们都是使用COCO数据集训练完成的,如何使用这些预训练模型呢?官方已经给了一个用jupyter notebook编写好的例子。首先在research文件下下,运行命令:jupyter-notebook,会直接打开http://localhost:8888/tree。
接着打开object_detection文件夹,并单击object_detection_tutorial.jpynb运行示例文件。
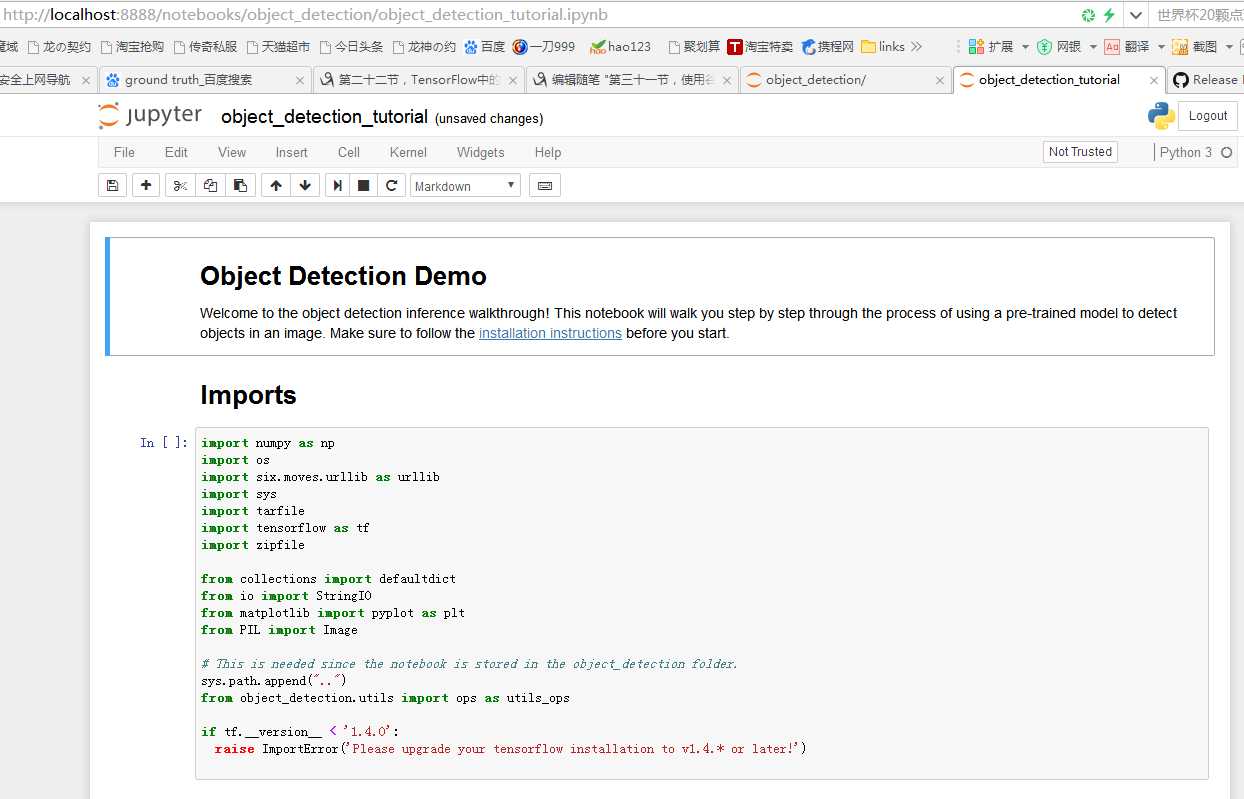
该代码使用Object Detection API基于COCO上训练的ssd_mobilenet_v1模型,对任意图片进行分类识别。
1、下载模型
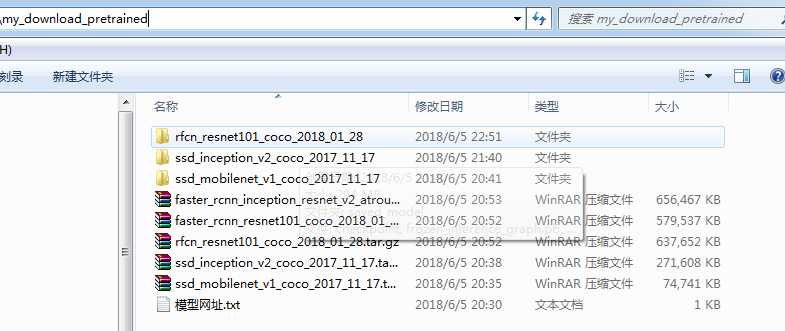
之前介绍的已有模型,在下面网站可以下载:https://github.com/tensorflow/models/blob/master/research/object_detection/g3doc/detection_model_zoo.md
每一个压缩文件里包含以下文件:
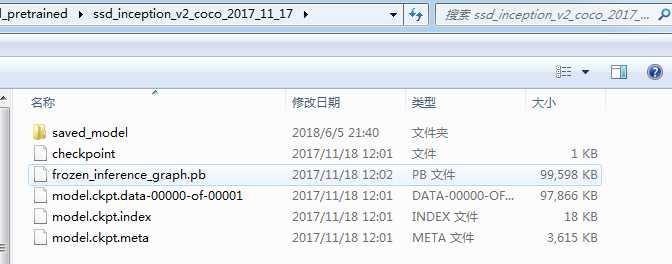
- 防止权重的检查点文件(ckpt)
- 可用于变量载入内存的图frozen文件。改文件与检查点文件可以实现”开箱即用”的使用理念,即不需要再一次引入网络模型源码。
我们在models\research文件夹下创建一个文件夹my_download_pretrained,用于保存预训练的模型。
2.程序详解
我们对该代码进行一些修改,并给出该代码的中文注释:
在models\research下创建my_object_detection.py文件。
# -*- coding: utf-8 -*-
"""
Created on Tue Jun  5 20:34:06 2018

@author: zy
"""

‘‘‘
调用Object Detection API进行实物检测   需要GPU运行环境,CPU下会报错

模型下载网址:https://github.com/tensorflow/models/blob/master/research/object_detection/g3doc/detection_model_zoo.md

TensorFlow  生成的  .ckpt 和  .pb 都有什么用?
https://www.cnblogs.com/nowornever-L/p/6991295.html
如何用Tensorflow训练模型成pb文件(一)——基于原始图片的读取
https://blog.csdn.net/u011463646/article/details/77918980?fps=1&locationNum=7
‘‘‘


import matplotlib.pyplot as plt
import numpy as np
import os
import tensorflow as tf
from object_detection.utils import label_map_util
from object_detection.utils import visualization_utils as vis_util
from PIL import Image


def test():
    #重置图
    tf.reset_default_graph()
    ‘‘‘
    载入模型以及数据集样本标签,加载待测试的图片文件
    ‘‘‘
    #指定要使用的模型的路径  包含图结构,以及参数
    PATH_TO_CKPT = ‘./my_download_pretrained/ssd_mobilenet_v1_coco_2017_11_17/frozen_inference_graph.pb‘

    #测试图片所在的路径
    PATH_TO_TEST_IMAGES_DIR = ‘./object_detection/test_images‘

    TEST_IMAGE_PATHS = [os.path.join(PATH_TO_TEST_IMAGES_DIR,‘image{}.jpg‘.format(i)) for i in range(1,3) ]

    #数据集对应的label mscoco_label_map.pbtxt文件保存了index到类别名的映射
    PATH_TO_LABELS = os.path.join(‘./object_detection/data‘,‘mscoco_label_map.pbtxt‘)

    NUM_CLASSES = 90

    #重新定义一个图
    output_graph_def = tf.GraphDef()

    with tf.gfile.GFile(PATH_TO_CKPT,‘rb‘) as fid:
        #将*.pb文件读入serialized_graph
        serialized_graph = fid.read()
        #将serialized_graph的内容恢复到图中
        output_graph_def.ParseFromString(serialized_graph)
        #print(output_graph_def)
        #将output_graph_def导入当前默认图中(加载模型)
        tf.import_graph_def(output_graph_def,name=‘‘)

    print(‘模型加载完成‘)

    #载入coco数据集标签文件
    label_map = label_map_util.load_labelmap(PATH_TO_LABELS)
    categories = label_map_util.convert_label_map_to_categories(label_map,max_num_classes = NUM_CLASSES,use_display_name = True)
    category_index = label_map_util.create_category_index(categories)


    ‘‘‘
    定义session
    ‘‘‘
    def load_image_into_numpy_array(image):
        ‘‘‘
        将图片转换为ndarray数组的形式
        ‘‘‘
        im_width,im_height = image.size
        return np.array(image.getdata()).reshape((im_height,im_width,3)).astype(np.uint0)

    #设置输出图片的大小
    IMAGE_SIZE = (12,8)

    #使用默认图,此时已经加载了模型
    detection_graph = tf.get_default_graph()

    with tf.Session(graph=detection_graph) as sess:
        for image_path in TEST_IMAGE_PATHS:
            image = Image.open(image_path)
            #将图片转换为numpy格式
            image_np = load_image_into_numpy_array(image)

            ‘‘‘
            定义节点,运行并可视化
            ‘‘‘
            #将图片扩展一维,最后进入神经网络的图片格式应该是[1,?,?,3]
            image_np_expanded = np.expand_dims(image_np,axis = 0)

            ‘‘‘
            获取模型中的tensor
            ‘‘‘
            image_tensor = detection_graph.get_tensor_by_name(‘image_tensor:0‘)

            #boxes用来显示识别结果
            boxes = detection_graph.get_tensor_by_name(‘detection_boxes:0‘)

            #Echo score代表识别出的物体与标签匹配的相似程度,在类型标签后面
            scores = detection_graph.get_tensor_by_name(‘detection_scores:0‘)
            classes = detection_graph.get_tensor_by_name(‘detection_classes:0‘)
            num_detections = detection_graph.get_tensor_by_name(‘num_detections:0‘)

            #开始检查
            boxes,scores,classes,num_detections = sess.run([boxes,scores,classes,num_detections],
                                                           feed_dict={image_tensor:image_np_expanded})

            #可视化结果
            vis_util.visualize_boxes_and_labels_on_image_array(
                    image_np,
                    np.squeeze(boxes),
                    np.squeeze(classes).astype(np.int32),
                    np.squeeze(scores),
                    category_index,
                    use_normalized_coordinates=True,
                    line_thickness=8)
            plt.figure(figsize=IMAGE_SIZE)
            print(type(image_np))
            print(image_np.shape)
            image_np = np.array(image_np,dtype=np.uint8)
            plt.imshow(image_np)


if __name__ == ‘__main__‘:
    test()
四 训练新的模型
以VOC 2012数据集为例,介绍如何使用Object Detection API训练新的模型。VOC 2012是VOC2007数据集的升级版,一共有11530张图片,每张图片都有标准,标注的物体包括人、动物(如猫、狗、鸟等)、交通工具(如车、船飞机等)、家具(如椅子、桌子、沙发等)在内的20个类别。
1、下载数据集
首先下载数据集,并将其转换为tfrecord格式。下载地址为:http://host.robots.ox.ac.uk/pascal/VOC/voc2012‘/VOCtrainval_11-May-2012.tar。
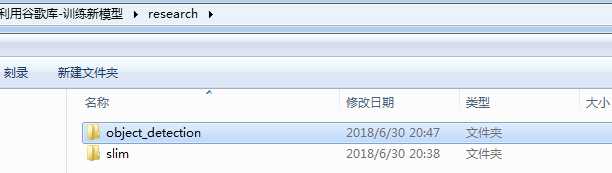
首先下载谷歌models库,然后删除一些不必要的文件,得到文件结构如下:
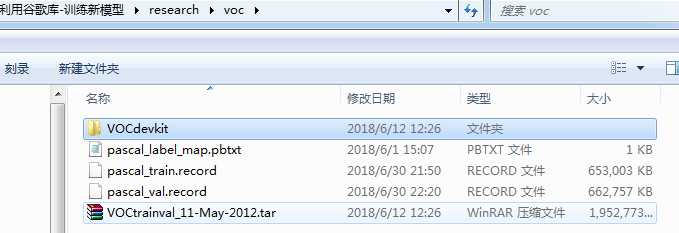
在research文件夹下,创建一个voc文件夹,把VOC2012解压到这个文件夹下,解压后,得到一个VOCdevkit文件夹:

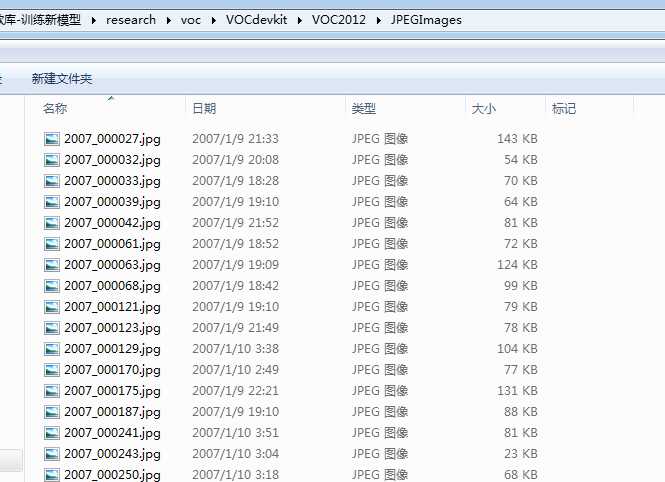
JPEGImages文件中存储了所有的图像数据。对于每一张图像,都在Annotations文件夹中有其物体框的标注,包括图片文件名,图片大小,图片边界框等信息。ImageSets\Main文件夹下的文件存放着训练和校验时所使用到的文件的文件名。
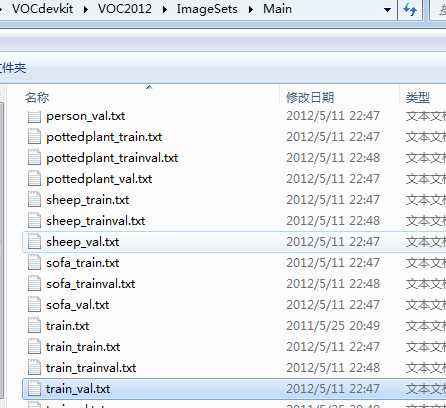
ImageSets里Main文件夹,推荐使用下面3个文件:
- train.txt 是用来训练的图片文件的文件名列表
- val.txt是用来验证的图片文件的文件名列表
- trianval.txt是用来训练和验证的图片文件的文件名列表
以2007_000027.xml为例:
<annotation>
    <folder>VOC2012</folder>
    <filename>2007_000027.jpg</filename>
    <source>
        <database>The VOC2007 Database</database>
        <annotation>PASCAL VOC2007</annotation>
        <image>flickr</image>
    </source>
    <size>
        <width>486</width>
        <height>500</height>
        <depth>3</depth>
    </size>
    <segmented>0</segmented>
    <object>
        <name>person</name>
        <pose>Unspecified</pose>
        <truncated>0</truncated>
        <difficult>0</difficult>
        <bndbox>
            <xmin>174</xmin>
            <ymin>101</ymin>
            <xmax>349</xmax>
            <ymax>351</ymax>
        </bndbox>
        <part>
            <name>head</name>
            <bndbox>
                <xmin>169</xmin>
                <ymin>104</ymin>
                <xmax>209</xmax>
                <ymax>146</ymax>
            </bndbox>
        </part>
        <part>
            <name>hand</name>
            <bndbox>
                <xmin>278</xmin>
                <ymin>210</ymin>
                <xmax>297</xmax>
                <ymax>233</ymax>
            </bndbox>
        </part>
        <part>
            <name>foot</name>
            <bndbox>
                <xmin>273</xmin>
                <ymin>333</ymin>
                <xmax>297</xmax>
                <ymax>354</ymax>
            </bndbox>
        </part>
        <part>
            <name>foot</name>
            <bndbox>
                <xmin>319</xmin>
                <ymin>307</ymin>
                <xmax>340</xmax>
                <ymax>326</ymax>
            </bndbox>
        </part>
    </object>
</annotation>
2、生成tf文件
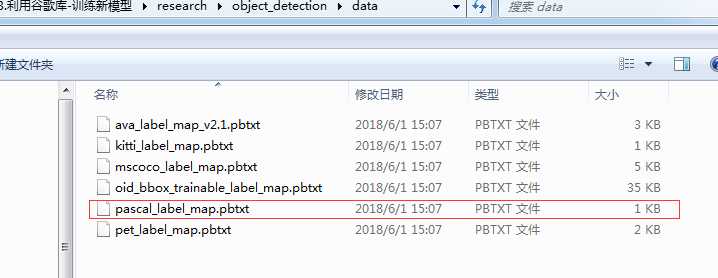
把pascal_label_map.pbtxt文件复制到voc文件夹下,这个文件存放在voc2012数据集物体的索引和对应的名字。
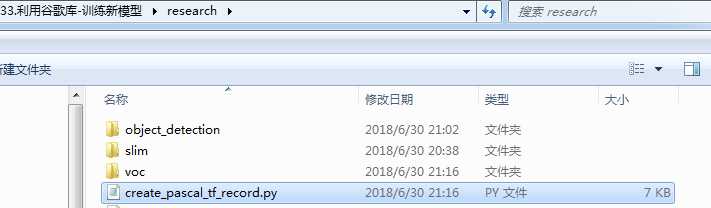
把create_pascal_tf_record.py文件复制到research文件夹下,这个代码是为VOC2012数据集提前编写好的。代码如下:


# Copyright 2017 The TensorFlow Authors. All Rights Reserved.
#
# Licensed under the Apache License, Version 2.0 (the "License");
# you may not use this file except in compliance with the License.
# You may obtain a copy of the License at
#
#     http://www.apache.org/licenses/LICENSE-2.0
#
# Unless required by applicable law or agreed to in writing, software
# distributed under the License is distributed on an "AS IS" BASIS,
# WITHOUT WARRANTIES OR CONDITIONS OF ANY KIND, either express or implied.
# See the License for the specific language governing permissions and
# limitations under the License.
# ==============================================================================

r"""Convert raw PASCAL dataset to TFRecord for object_detection.

Example usage:
    ./create_pascal_tf_record --data_dir=/home/user/VOCdevkit         --year=VOC2012         --output_path=/home/user/pascal.record
"""
from __future__ import absolute_import
from __future__ import division
from __future__ import print_function

import hashlib
import io
import logging
import os

from lxml import etree
import PIL.Image
import tensorflow as tf

from object_detection.utils import dataset_util
from object_detection.utils import label_map_util

import sys


#配置logging
logging.basicConfig(format=‘%(asctime)s %(levelname)s %(message)s‘,
                    level=logging.INFO,
                    stream=sys.stdout)


#命令行参数  主要包括数据集根目录,数据类型,输出tf文件路径等
flags = tf.app.flags
flags.DEFINE_string(‘data_dir‘, ‘‘, ‘Root directory to raw PASCAL VOC dataset.‘)
flags.DEFINE_string(‘set‘, ‘train‘, ‘Convert training set, validation set or ‘
                    ‘merged set.‘)
flags.DEFINE_string(‘annotations_dir‘, ‘Annotations‘,
                    ‘(Relative) path to annotations directory.‘)
flags.DEFINE_string(‘year‘, ‘VOC2007‘, ‘Desired challenge year.‘)
flags.DEFINE_string(‘output_path‘, ‘‘, ‘Path to output TFRecord‘)
flags.DEFINE_string(‘label_map_path‘, ‘voc/pascal_label_map.pbtxt‘,
                    ‘Path to label map proto‘)
flags.DEFINE_boolean(‘ignore_difficult_instances‘, False, ‘Whether to ignore ‘
                     ‘difficult instances‘)
FLAGS = flags.FLAGS

SETS = [‘train‘, ‘val‘, ‘trainval‘, ‘test‘]
YEARS = [‘VOC2007‘, ‘VOC2012‘, ‘merged‘]


def dict_to_tf_example(data,
                       dataset_directory,
                       label_map_dict,
                       ignore_difficult_instances=False,
                       image_subdirectory=‘JPEGImages‘):
  """Convert XML derived dict to tf.Example proto.

  Notice that this function normalizes the bounding box coordinates provided
  by the raw data.

  Args:
    data: dict holding PASCAL XML fields for a single image (obtained by
      running dataset_util.recursive_parse_xml_to_dict)
    dataset_directory: Path to root directory holding PASCAL dataset
    label_map_dict: A map from string label names to integers ids.
    ignore_difficult_instances: Whether to skip difficult instances in the
      dataset  (default: False).
    image_subdirectory: String specifying subdirectory within the
      PASCAL dataset directory holding the actual image data.

  Returns:
    example: The converted tf.Example.

  Raises:
    ValueError: if the image pointed to by data[‘filename‘] is not a valid JPEG
  """
  #获取相对图片路径
  img_path = os.path.join(data[‘folder‘], image_subdirectory, data[‘filename‘])
  #获取图片绝对路径
  full_path = os.path.join(dataset_directory, img_path)
  #读取图片
  with tf.gfile.GFile(full_path, ‘rb‘) as fid:
    encoded_jpg = fid.read()
  encoded_jpg_io = io.BytesIO(encoded_jpg)
  image = PIL.Image.open(encoded_jpg_io)
  if image.format != ‘JPEG‘:
    raise ValueError(‘Image format not JPEG‘)
  key = hashlib.sha256(encoded_jpg).hexdigest()

  #获取图片的宽和高
  width = int(data[‘size‘][‘width‘])
  height = int(data[‘size‘][‘height‘])

  xmin = []
  ymin = []
  xmax = []
  ymax = []
  classes = []
  classes_text = []
  truncated = []
  poses = []
  difficult_obj = []
  for obj in data[‘object‘]:
    #是否为难以辨识的物体, 主要指要结体背景才能判断出类别的物体。虽有标注, 但一般忽略这类物体 跳过难以识别的?
    difficult = bool(int(obj[‘difficult‘]))
    if ignore_difficult_instances and difficult:
      continue

    difficult_obj.append(int(difficult))

    #bounding box 计算目标边界 归一化到[0,1]之间  左上角坐标,右下角坐标
    xmin.append(float(obj[‘bndbox‘][‘xmin‘]) / width)
    ymin.append(float(obj[‘bndbox‘][‘ymin‘]) / height)
    xmax.append(float(obj[‘bndbox‘][‘xmax‘]) / width)
    ymax.append(float(obj[‘bndbox‘][‘ymax‘]) / height)

    #类别名
    classes_text.append(obj[‘name‘].encode(‘utf8‘))
    #获取该类别对应的标签
    classes.append(label_map_dict[obj[‘name‘]])
    #物体是否被部分遮挡
    truncated.append(int(obj[‘truncated‘]))
    #物体的姿势
    poses.append(obj[‘pose‘].encode(‘utf8‘))

  #tf文件一条记录格式
  example = tf.train.Example(features=tf.train.Features(feature={
      ‘image/height‘: dataset_util.int64_feature(height),
      ‘image/width‘: dataset_util.int64_feature(width),
      ‘image/filename‘: dataset_util.bytes_feature(
          data[‘filename‘].encode(‘utf8‘)),
      ‘image/source_id‘: dataset_util.bytes_feature(
          data[‘filename‘].encode(‘utf8‘)),
      ‘image/key/sha256‘: dataset_util.bytes_feature(key.encode(‘utf8‘)),
      ‘image/encoded‘: dataset_util.bytes_feature(encoded_jpg),
      ‘image/format‘: dataset_util.bytes_feature(‘jpeg‘.encode(‘utf8‘)),
      ‘image/object/bbox/xmin‘: dataset_util.float_list_feature(xmin),
      ‘image/object/bbox/xmax‘: dataset_util.float_list_feature(xmax),
      ‘image/object/bbox/ymin‘: dataset_util.float_list_feature(ymin),
      ‘image/object/bbox/ymax‘: dataset_util.float_list_feature(ymax),
      ‘image/object/class/text‘: dataset_util.bytes_list_feature(classes_text),
      ‘image/object/class/label‘: dataset_util.int64_list_feature(classes),
      ‘image/object/difficult‘: dataset_util.int64_list_feature(difficult_obj),
      ‘image/object/truncated‘: dataset_util.int64_list_feature(truncated),
      ‘image/object/view‘: dataset_util.bytes_list_feature(poses),
  }))
  return example


def main(_):
  ‘‘‘
  主要是通过读取VOCdevkit\VOC2012\Annotations下的xml文件
  然后获取对应的图片文件的路径,图片大小,文件名,边界框、以及图片数据等信息写入rfrecord文件
  ‘‘‘
  if FLAGS.set not in SETS:
    raise ValueError(‘set must be in : {}‘.format(SETS))
  if FLAGS.year not in YEARS:
    raise ValueError(‘year must be in : {}‘.format(YEARS))

  data_dir = FLAGS.data_dir
  years = [‘VOC2007‘, ‘VOC2012‘]
  if FLAGS.year != ‘merged‘:
    years = [FLAGS.year]

  #创建对象,用于向记录文件写入记录
  writer = tf.python_io.TFRecordWriter(FLAGS.output_path)

  #获取类别名->index的映射 dict类型
  label_map_dict = label_map_util.get_label_map_dict(FLAGS.label_map_path)

  for year in years:
    logging.info(‘Reading from PASCAL %s dataset.‘, year)
    #获取aeroplane_train.txt文件的全路径  改文件保存部分文件名(一共5717/5823个文件,各类图片都有)
    examples_path = os.path.join(data_dir, year, ‘ImageSets‘, ‘Main‘,
                                 ‘aeroplane_‘ + FLAGS.set + ‘.txt‘)
    #获取所有图片标注xml文件的路径
    annotations_dir = os.path.join(data_dir, year, FLAGS.annotations_dir)

    #list 存放文件名
    examples_list = dataset_util.read_examples_list(examples_path)

    #遍历annotations_dir目录下,examples_list中指定的xml文件
    for idx, example in enumerate(examples_list):
      if idx % 100 == 0:
        logging.info(‘On image %d of %d‘, idx, len(examples_list))
      path = os.path.join(annotations_dir, example + ‘.xml‘)
      with tf.gfile.GFile(path, ‘r‘) as fid:
        xml_str = fid.read()
      xml = etree.fromstring(xml_str)
      #获取annotation节点的内容
      data = dataset_util.recursive_parse_xml_to_dict(xml)[‘annotation‘]

      #把数据整理成tfrecord需要的数据结构
      tf_example = dict_to_tf_example(data, FLAGS.data_dir, label_map_dict,
                                      FLAGS.ignore_difficult_instances)

      #向tf文件写入一条记录
      writer.write(tf_example.SerializeToString())

  writer.close()


if __name__ == ‘__main__‘:
  tf.app.run()
View Code
如果读者希望使用自己的数据集,有两种方法:
- 第一种是修改自己的数据集的标注格式,使和VOC2012一模一样(主要是Annotations文件夹,ImageSets\Main文件夹,JPEGImages文件夹),然后即可以直接使用create_pascal_tf_record.py脚本转换了
- 另外一种方法就是修改create_pascal_tf_record.py,对读取标签的代码进行修改。
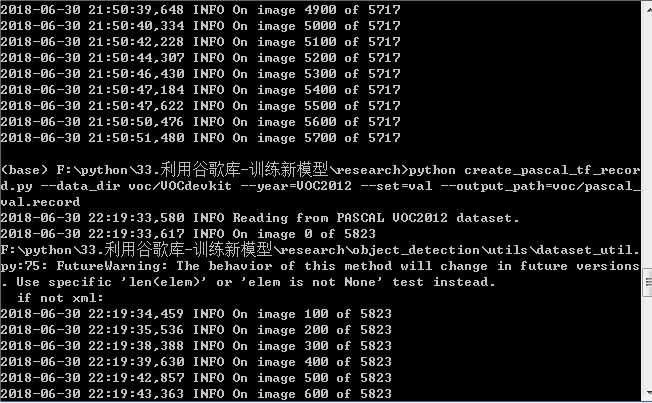
在research文件夹中,执行以下命令可以把VOC2012数据集转换为tfrecord格式,转换好的tfrecord保存在voc文件夹下,分别为pasal_train.record和pascal_val.record:
python create_pascal_tf_record.py --data_dir voc/VOCdevkit --year=VOC2012 --set=train --output_path=voc/pascal_train.record

python create_pascal_tf_record.py --data_dir voc/VOCdevkit --year=VOC2012 --set=val --output_path=voc/pascal_val.record
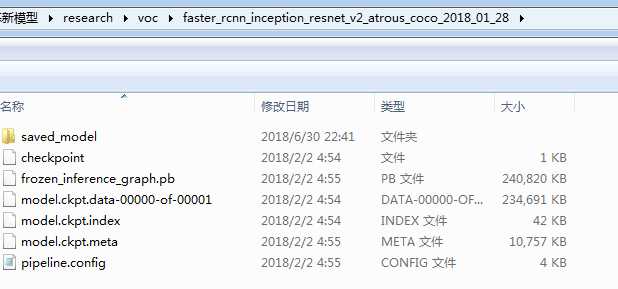
3、下载模型
下载完VOC 2012数据集后,需要选择合适的训练模型。这里以Faster R-CNN + Inception-ResNet_v2模型为例进行介绍。首先下载在COCO数据集上预训练的Faster R-CNN + Inception-ResNet_v2模型。解压到voc文件夹下,如图:
4、训练模型
Object Detection API是依赖一种特殊的设置文件进行训练的。在object_detection/samples/configs文件夹下,有一些设置文件的示例。可以参考faster_rcnn_inception_resnet_v2_atrous_coco.config文件创建的设置文件。先将faster_rcnn_inception_resnet_v2_atrous_coco.config复制一份到voc文件夹下,命名为faster_rcnn_inception_resnet_v2_atrous_voc.config。
faster_rcnn_inception_resnet_v2_atrous_voc.config文件有7处需要修改:
- 第一处为num_classes,需要将它修改为V0C2012 中物体类别数,即20.
- 第二处为eval_config中的num_examples,它表示在验证阶段需要执行的图片数量,修改为VOC 2012验证集的图片数5823(可以在create_pascal_tf_record.py中,输出对应的examples_list长度,就可以知道这个大小)。
- 还有5处为所有含PATH_TO_BE_CONFIGURED的地方。这些地方需要修改为自己的目录,他们应该分别被修改为:
  gradient_clipping_by_norm: 10.0
  fine_tune_checkpoint: "voc/faster_rcnn_inception_resnet_v2_atrous_coco_2018_01_28/model.ckpt"
  from_detection_checkpoint: true
  # Note: The below line limits the training process to 200K steps, which we
  # empirically found to be sufficient enough to train the pets dataset. This
  # effectively bypasses the learning rate schedule (the learning rate will
  # never decay). Remove the below line to train indefinitely.
  num_steps: 200000
  data_augmentation_options {
    random_horizontal_flip {
    }
  }
}


train_input_reader: {
  tf_record_input_reader {
    input_path: "voc/pascal_train.record"
  }
  label_map_path: "voc/pascal_label_map.pbtxt"
}

eval_config: {
  num_examples: 5823
  # Note: The below line limits the evaluation process to 10 evaluations.
  # Remove the below line to evaluate indefinitely.
  max_evals: 10
}

eval_input_reader: {
  tf_record_input_reader {
  input_path: "voc/pascal_val.record"
  }
 label_map_path: "voc/pascal_label_map.pbtxt"
  shuffle: false
  num_readers: 1
}
最后,在voc文件夹中新建一个train_dir作为保存模型和日志的目录,把object_detection目录下的train.py文件复制到research下,在research目录下,使用下面的命令就可以开始训练了:
python train.py --train_dir voc/train_dir/ --pipeline_config_path voc/faster_rcnn_inception_resnet_v2_atrous_voc.config
参考文章:将数据集做成VOC2007格式用于Faster-RCNN训练
VOC数据集制作2——ImageSets\Main里的四个txt文件
Pascal VOC 数据集介绍