今天翻文件看到这个系统的安装截图才发现自己没写,补上。
惯例还是用到的所有参数均位于文末附录
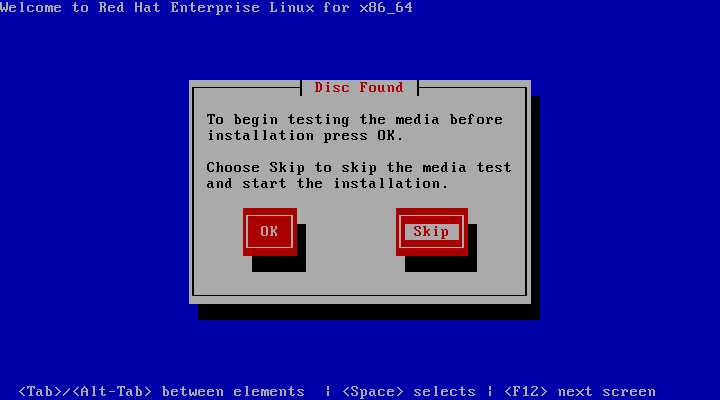
启动虚拟机进入系统安装
选择跳过硬盘检测


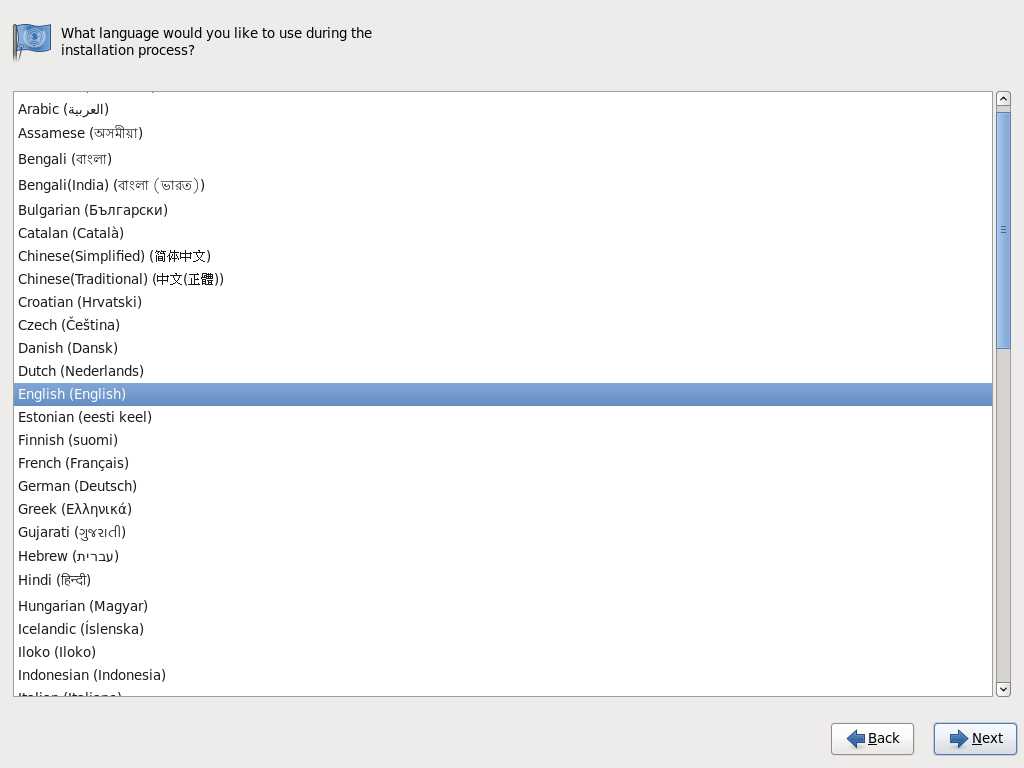
选择语言
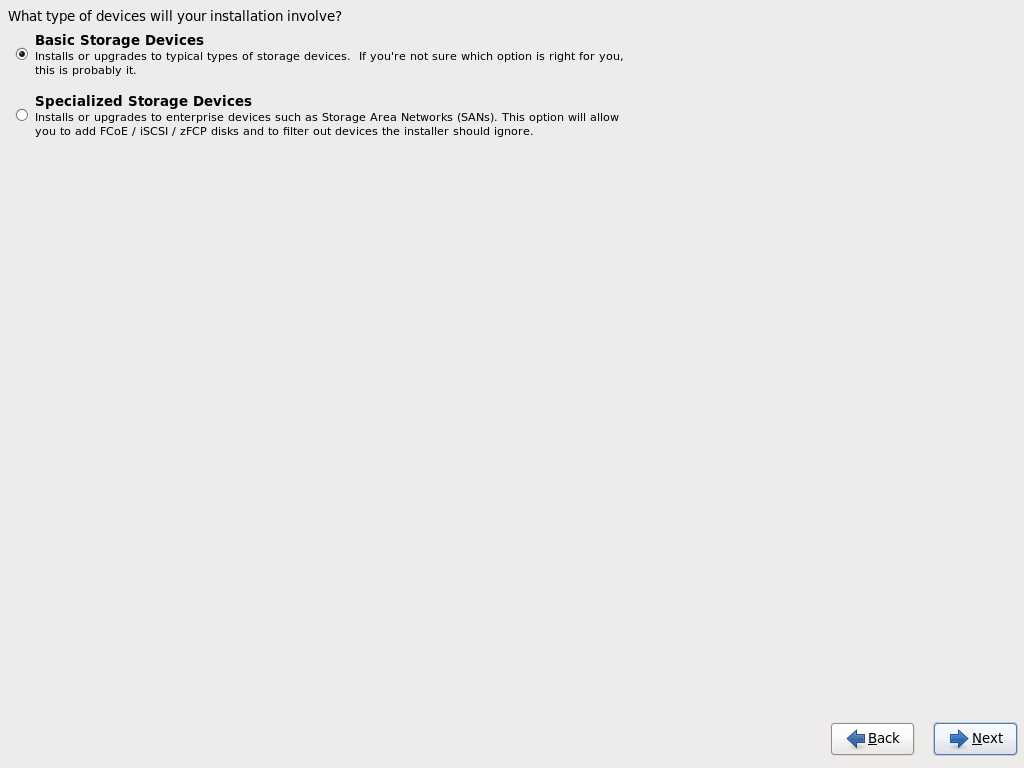
选择基本存储设备
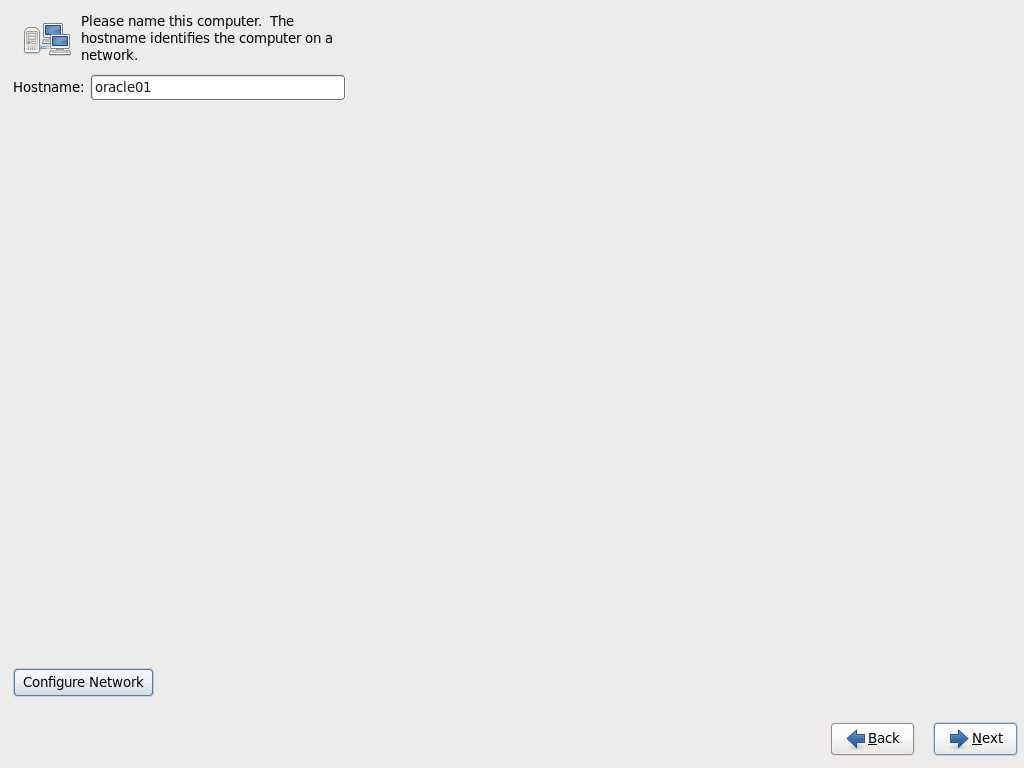
设定主机名
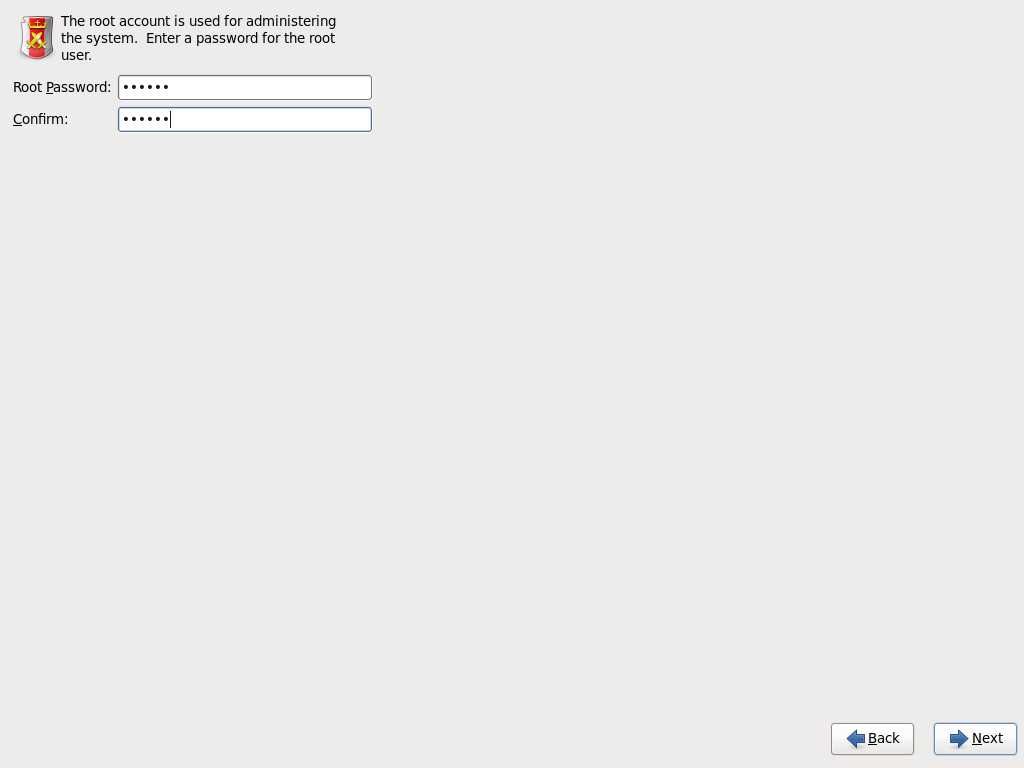
设定口令
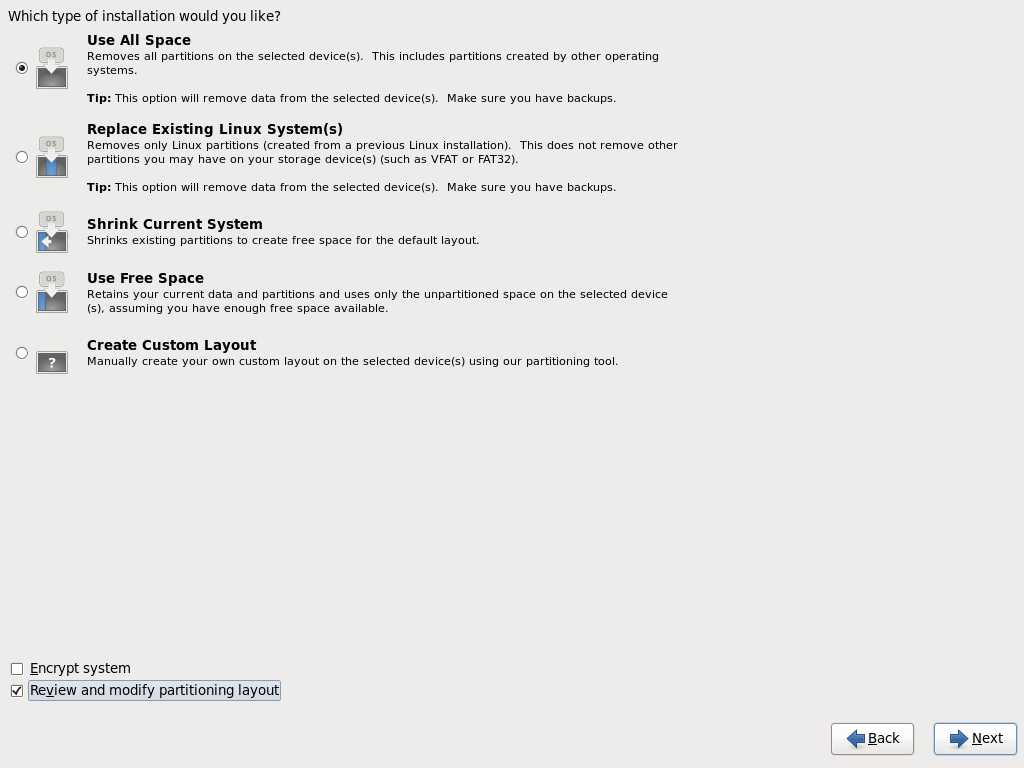
选择使用所有空间
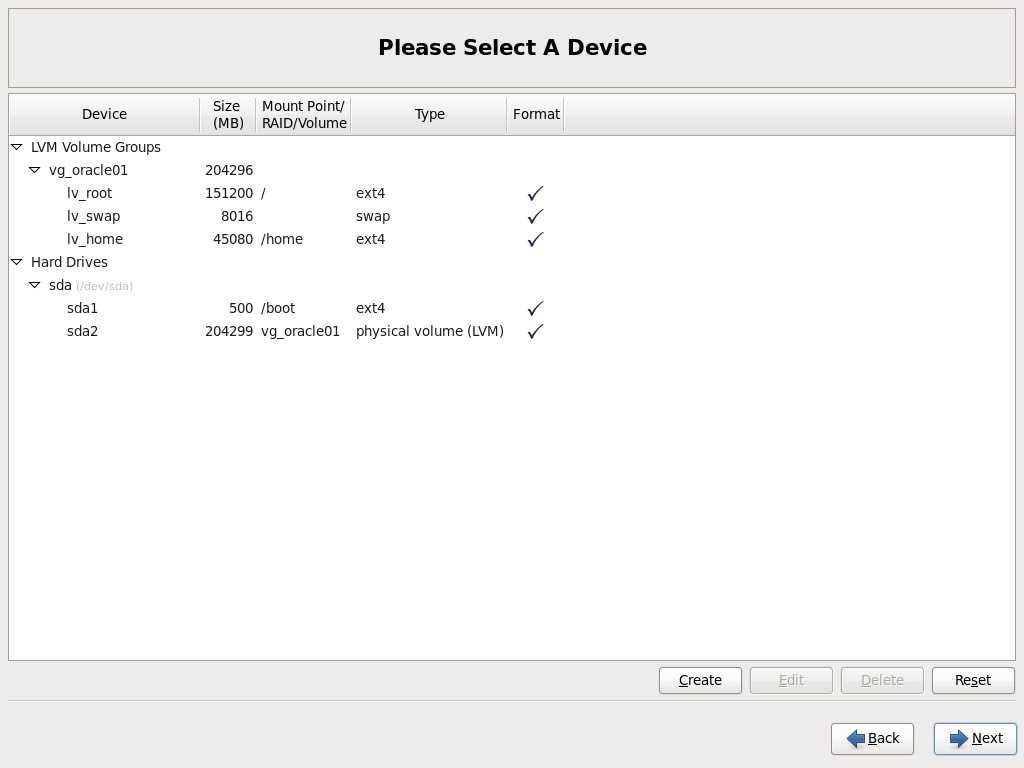
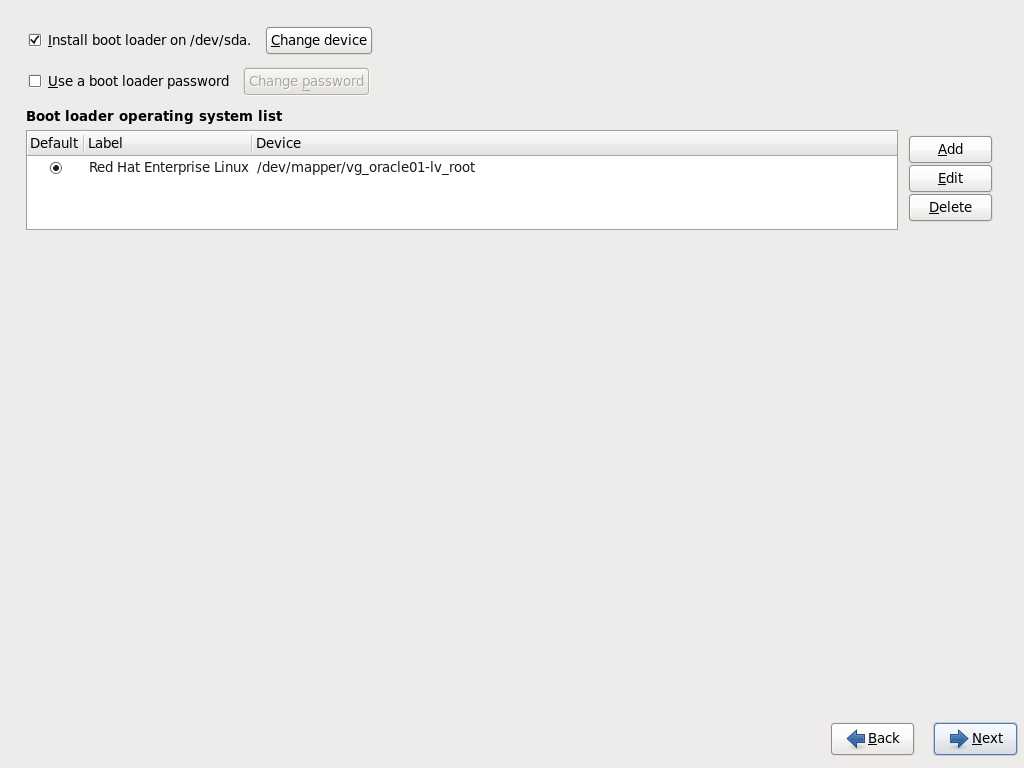
分区建议如下图
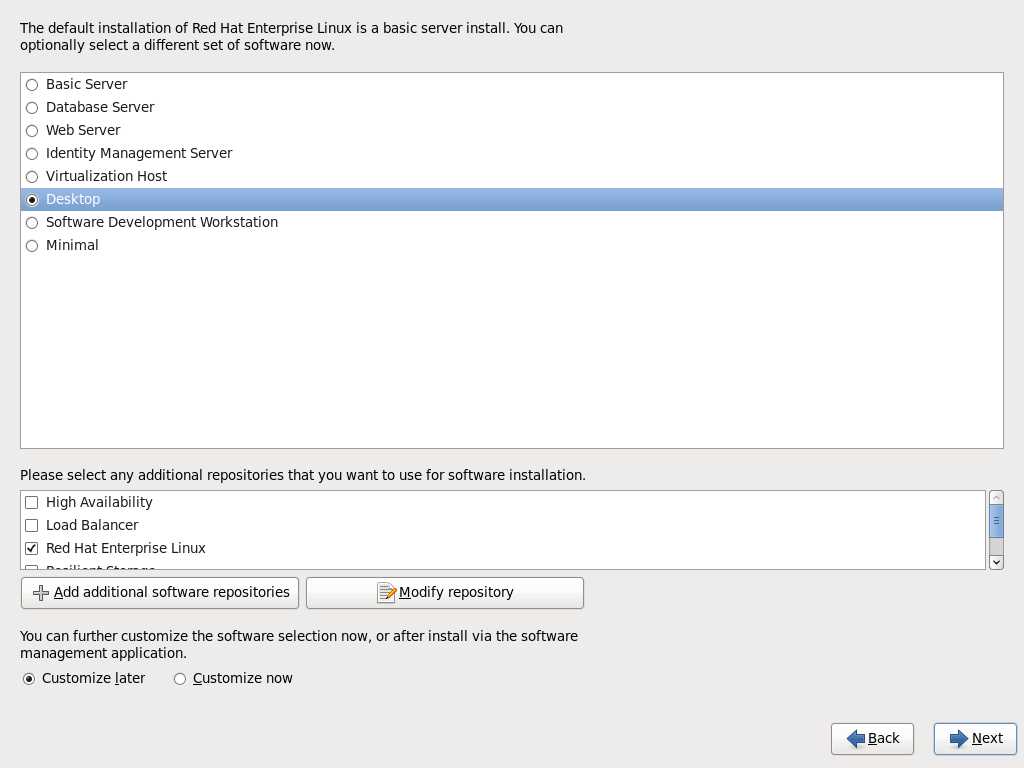
选上desktop,会有桌面

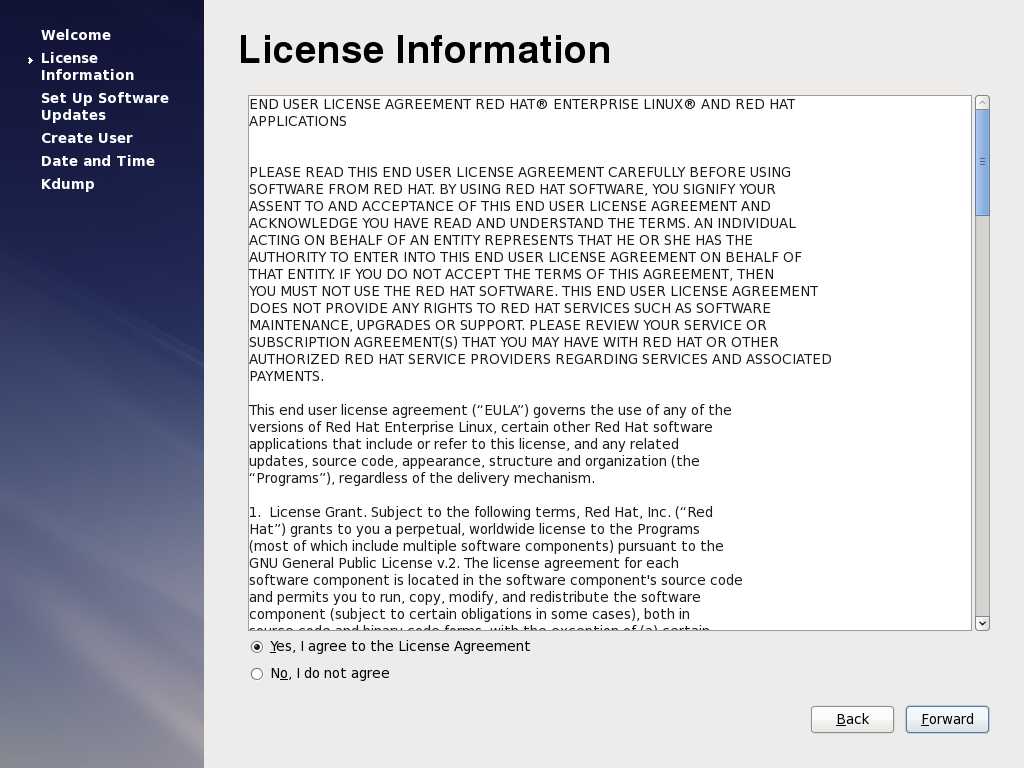
同意协议
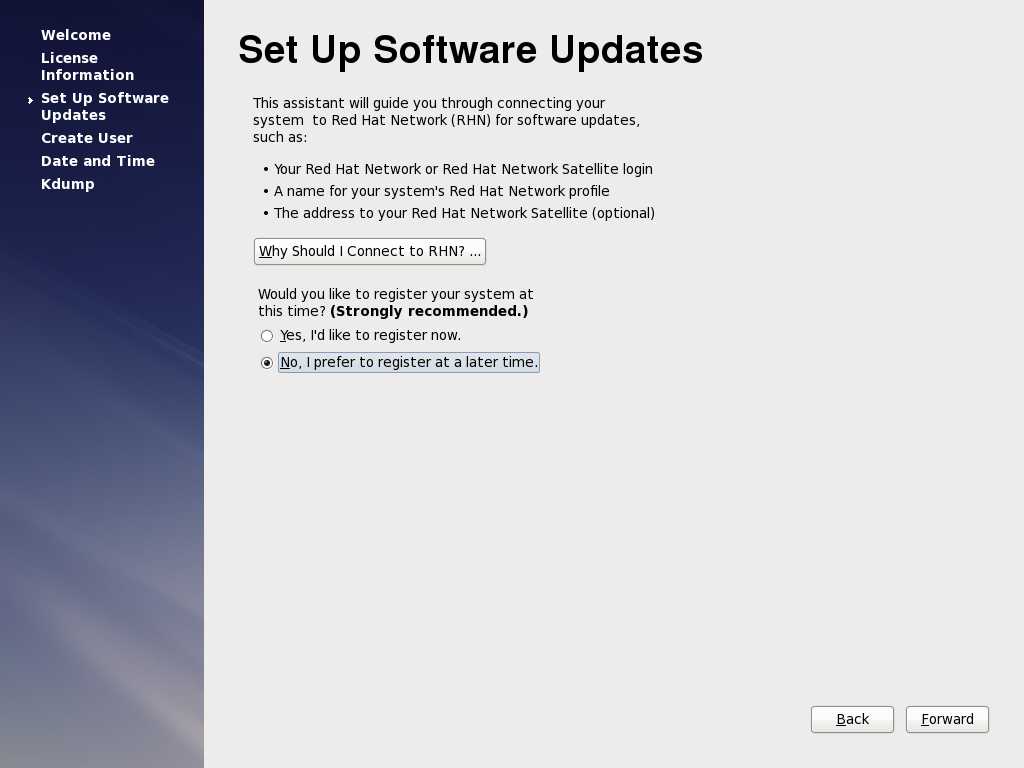
选择稍后注册
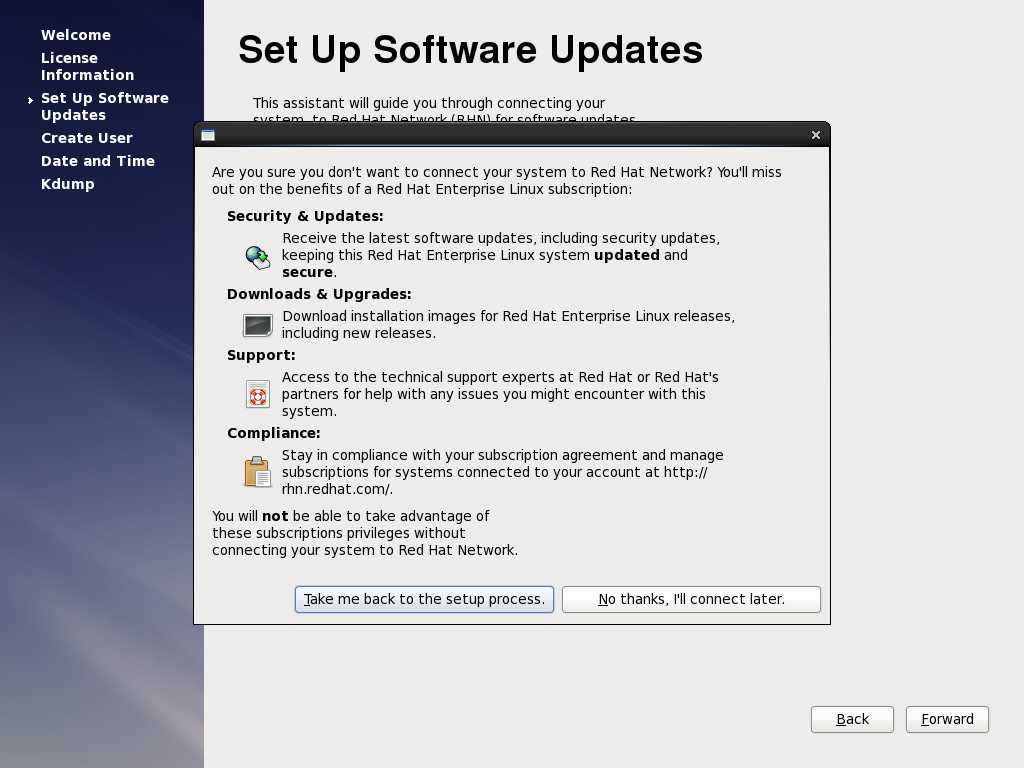
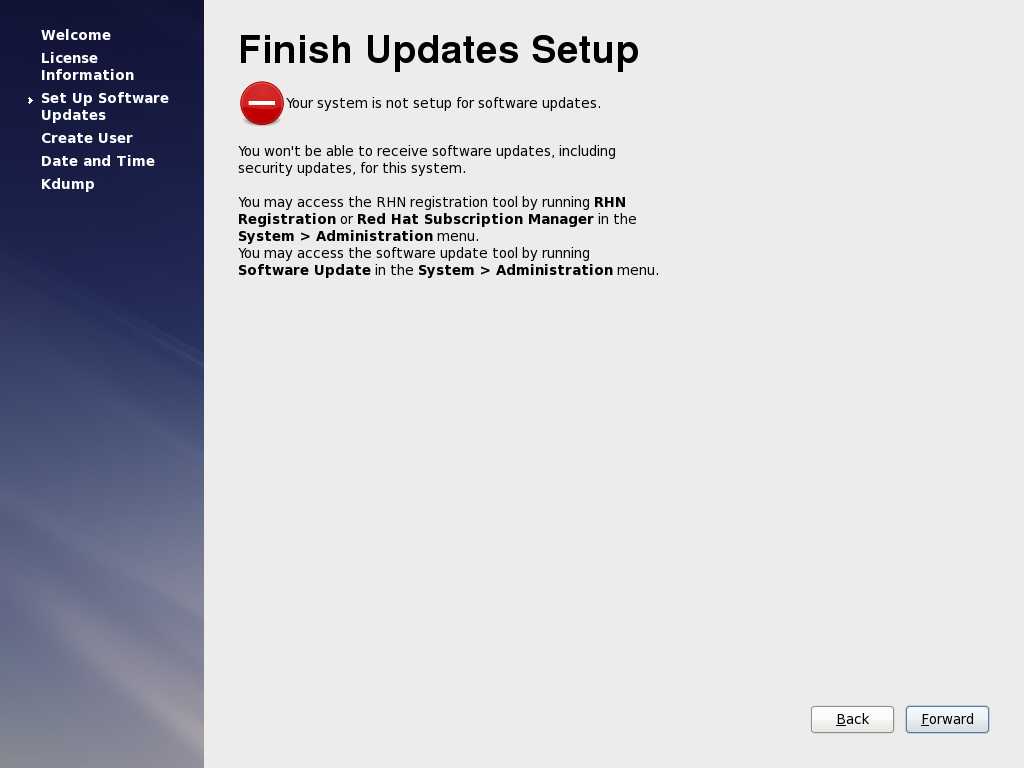
选择之后联系
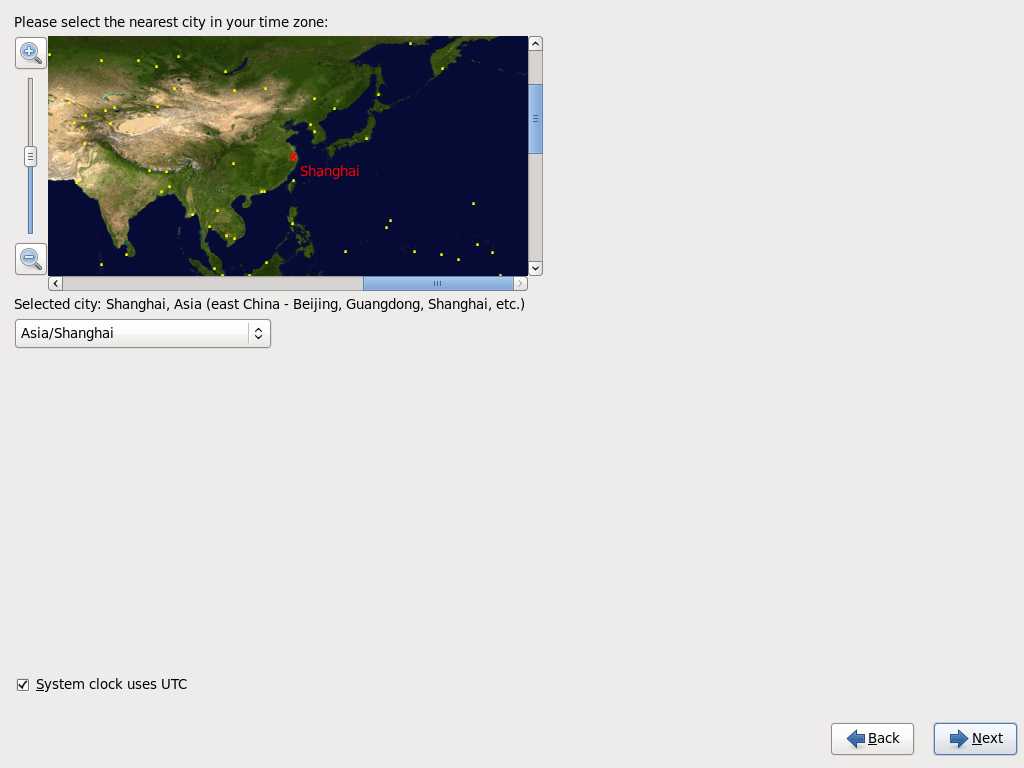
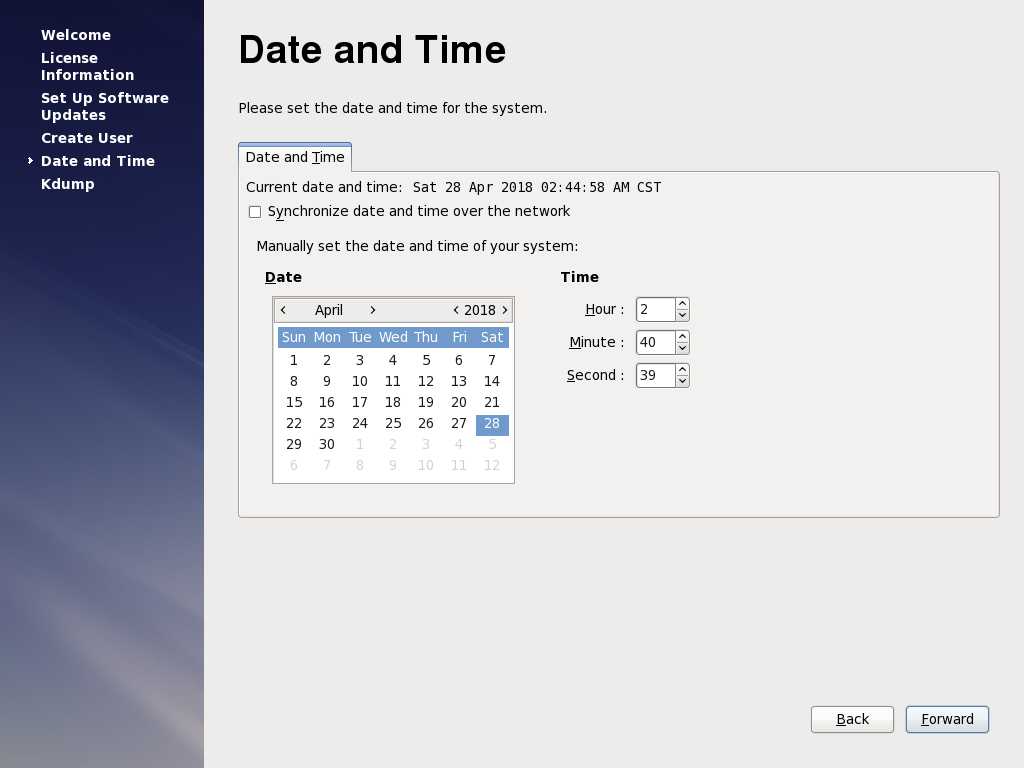
选择时间和日期
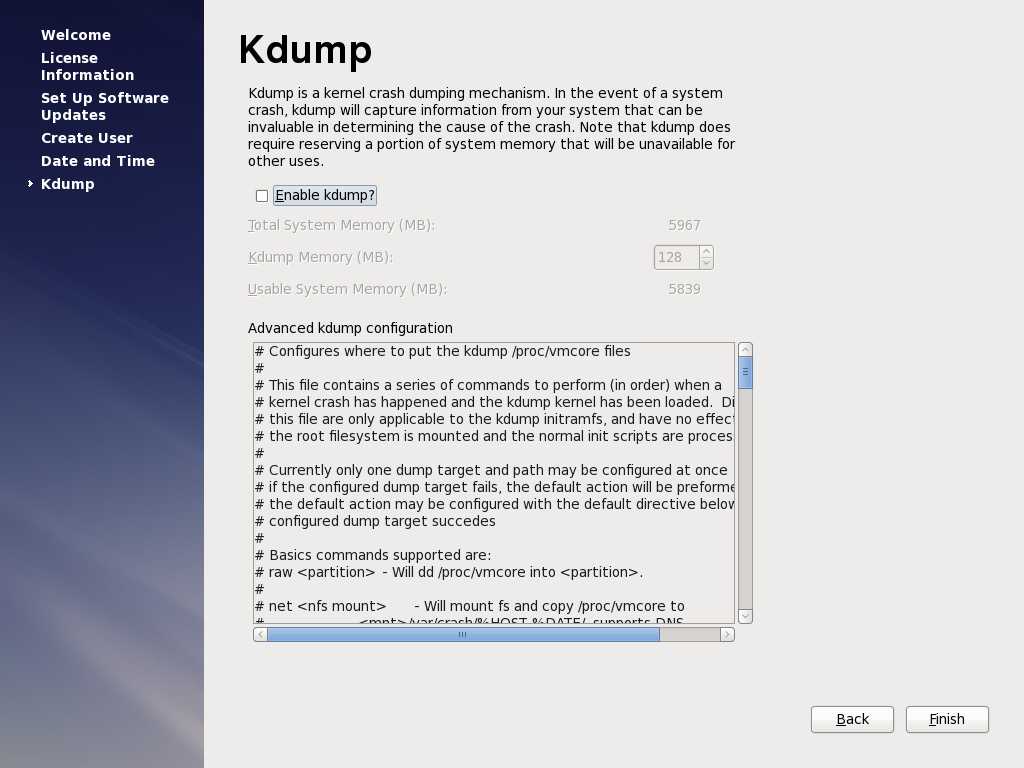
关闭kdump
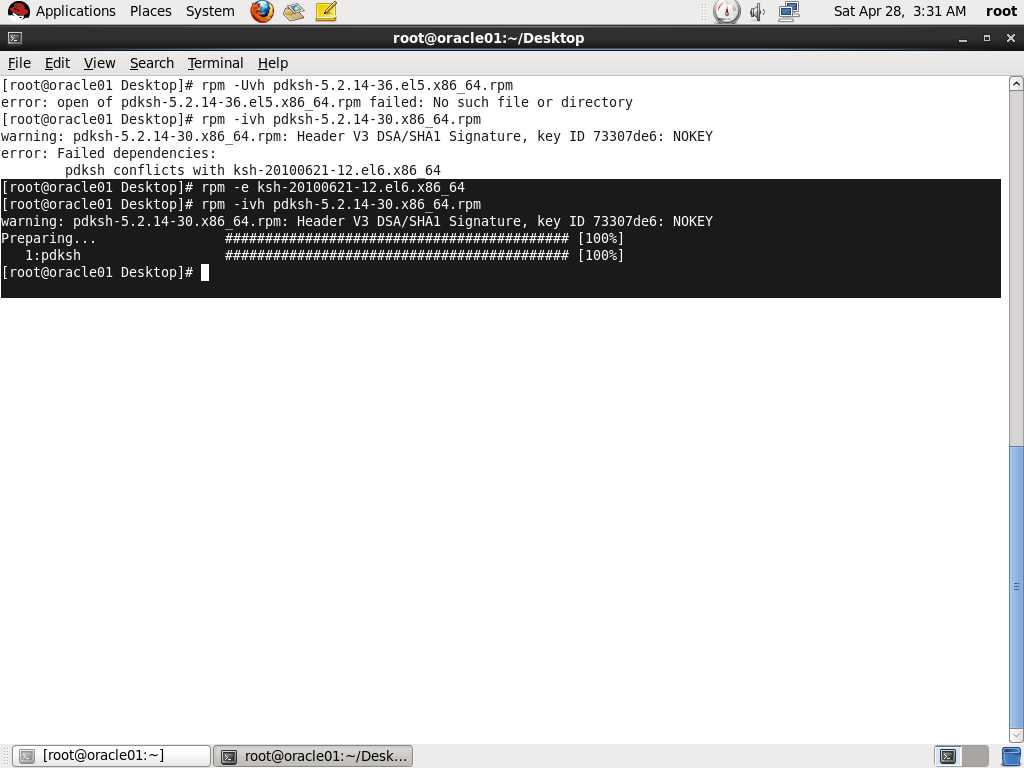
先打上pdksh包
[root@linux01 ~]# rpm -ivh pdksh-5.2.14-30.x86_64.rpm
warning: pdksh-5.2.14-30.x86_64.rpm: Header V3 DSA/SHA1 Signature, key ID 73307de6: NOKEY
Preparing… ########################################### [100%]
1:pdksh ########################################### [100%]
若显示与ksh包冲突,可以rpm -e卸载ksh包
创建一个目录,用来挂载光盘
mkdir /kingsql
su –
mount /dev/cdrom /kingsql
创建本地Yum源
[root@localhost ~]# vi /etc/yum.repos.d/kingsql.repo
[kingsql]
name=kingsql
baseurl=file:///kingsql
enabled=1
gpgcheck=0
gpgkey=file:///kingsql/RPM-GPG-KEY-redhat-release
递归创建一个目录,用来存放packages包
[root@rac01 yum.repos.d]# mkdir -p /rpm
[root@rac01 yum.repos.d]# cd /rpm
[root@rac01 rpm]cp /kingsql/Packages/* /rpm/
安装以下rpm包
rpm -ivh vsftpd-2.2.2-12.el6_5.1.x86_64.rpm
rpm -ivh deltarpm-3.5-0.5.20090913git.el6.x86_64.rpm
rpm -ivh python-deltarpm-3.5-0.5.20090913git.el6.x86_64.rpm
rpm -ivh libxml2-2.7.6-14.el6_5.2.x86_64.rpm
rpm -ivh libxml2-python-2.7.6-14.el6_5.2.x86_64.rpm
rpm -ivh createrepo-0.9.9-22.el6.noarch.rpm
制作本地Yum源
[root@rac01 rpm]# createrepo ./
[root@rac01 rpm]# yum clean all
[root@rac01 rpm]# yum makecache
yum安装以下包,注意不要有断行
yum install -y libXp* xterm* unixODBC* sysstat* make* libstdc++* libgomp* libgcc* libaio* kernel-headers* glibc* gcc* elfutils* binutils* bind bind-devel bind-chroot caching-nameserver compat-libcap1* compat-libstdc++-33* openssh* xdpyinfo vi unzip
关闭avahi-daemon进程
[root@localhost ~]# chkconfig avahi-daemon off
注意:正在将请求转发到“systemctl disable avahi-daemon.service”。
Removed symlink /etc/systemd/system/multi-user.target.wants/avahi-daemon.service.
Removed symlink /etc/systemd/system/sockets.target.wants/avahi-daemon.socket.
Removed symlink /etc/systemd/system/dbus-org.freedesktop.Avahi.service.
查看进程编号
[root@localhost ~]# ps -ef | grep avahi
avahi 823 1 0 10:06 ? 00:00:00 avahi-daemon: running [linux.local]
avahi 859 823 0 10:06 ? 00:00:00 avahi-daemon: chroot helper
root 16790 16206 0 10:27 pts/0 00:00:00 grep –color=auto avahi
关闭进程
[root@localhost ~]# kill -9 823
查看还有没有
[root@localhost ~]# ps -ef | grep avahi
root 16794 16206 0 10:27 pts/0 00:00:00 grep –color=auto avahi
查看NOZEROCONF是否yes
[root@localhost ~]# vi /etc/sysconfig/network
# Created by anaconda
NOZEROCONF=yes
将enforcing改为disabled
vi /etc/selinux/config
# This file controls the state of SELinux on the system.
# SELINUX= can take one of these three values:# enforcing – SELinux security policy is enforced.
# permissive – SELinux prints warnings instead of enforcing.
# disabled – No SELinux policy is loaded.
SELINUX=disabled
# SELINUXTYPE= can take one of these two values:
# targeted – Targeted processes are protected,
# mls – Multi Level Security protection.
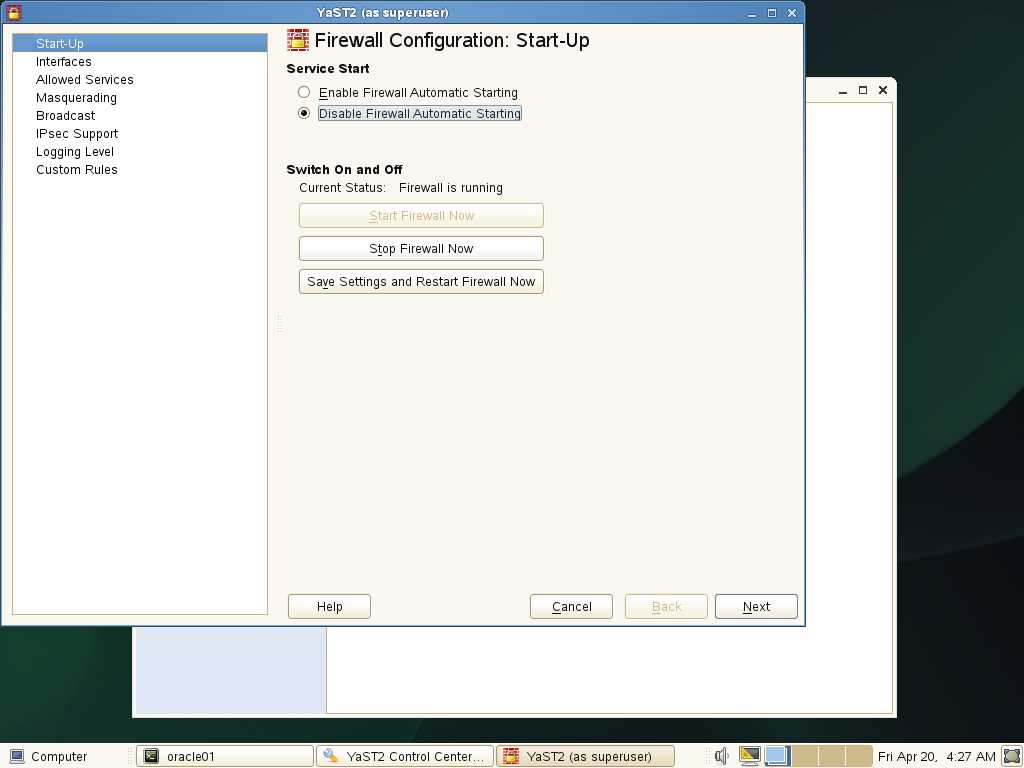
关闭防火墙
[root@localhost ~]# systemctl stop firewalld
[root@localhost ~]# systemctl disable firewalld
Removed symlink /etc/systemd/system/multi-user.target.wants/firewalld.service.
Removed symlink /etc/systemd/system/dbus-org.fedoraproject.FirewallD1.service.
[root@db12c ~]# firewall-cmd –state
not running
创建用户和组
groupadd -g 2100 oinstall
groupadd -g 2300 dba
groupadd -g 2301 oper
useradd -m -u 1101 -g oinstall -G dba,oper -d /home/oracle -s /bin/bash -c “Oracle Software Owner” oracle
修改oracle用户密码
passwd oracle
修改用户和组的权限
mkdir -p /u01/app/oracle
chown -R oracle:oinstall /u01
chmod -R 775 /u01
ls -lR /u01
切换到oracle用户,修改环境变量
[oracle@linux01 ~]$ vi .bash_profile
# .bash_profile
# Get the aliases and functions
if [ -f ~/.bashrc ]; then
. ~/.bashrc
fi
# User specific environment and startup programs
PATH=$PATH:$HOME/bin
export PATH
export ORACLE_BASE=/u01/app/oracle
export ORACLE_HOME=/u01/app/oracle/product/11.2.4/dbhome_1
export ORACLE_SID=VDEDU # (这里注意输入自己设的SID)
export ORACLE_TERM=xterm
export PATH=/usr/sbin:$PATH
export PATH=/u01/app/ogg:$ORACLE_HOME/bin:$PATH
export LD_LIBRARY_PATH=/u01/app/ogg:$ORACLE_HOME/lib:/lib:/usr/lib:$LD_LIBRARY_PATH
export CLASSPATH=$ORACLE_HOME/JRE:$ORACLE_HOME/jlib:$ORACLE_HOME/rdbms/jlib
export NLS_DATE_FORMAT=”yyyy-mm-dd HH24:MI:SS”
export NLS_LANG=AMERICAN_AMERICA.AL32UTF8
export LANG=C
export ORACLE_UNQNAME=VDEDU # 同上
source .bash_profile 刷新一下文件
切换到root用户
[root@linux01 ~]#vi /etc/sysctl.conf
fs.aio-max-nr = 1048576
fs.file-max = 6815744
kernel.shmmni = 4096
kernel.sem = 250 32000 100 128
net.ipv4.ip_local_port_range = 9000 65500
net.core.rmem_default = 262144
net.core.rmem_max = 4194304
net.core.wmem_default = 262144
net.core.wmem_max = 1048586
[root@linux01 ~]# /sbin/sysctl -p
[root@linux01 ~]# vi /etc/security/limits.conf
oracle soft nproc 2047 # 警告设定所有用户最大打开进程数为2047
oracle hard nproc 16384 # 严格设定所有用户最大打开进程数为16384
oracle soft nofile 1024 # 警告设定所有用户最大打开文件数为1024
oracle hard nofile 65536 # 严格设定所有用户最大打开文件数为65536
#soft 表示警告的设定,可以超过这个设定值,但是超过会有警告信息
#hard 表示严格的设定,必定不能超过这个设定的值
[root@linux01 ~]# vi /etc/pam.d/login
session required /lib64/security/pam_limits.so
#要使 limits.conf 文件配置生效,必须要确保pam_limits.so文件被加入到启动文件中。
#查看 /etc/pam.d/login 文件中有:
#session required /lib/security/pam_limits.so
输出display
export DISPLAY=:0.0
xhost +
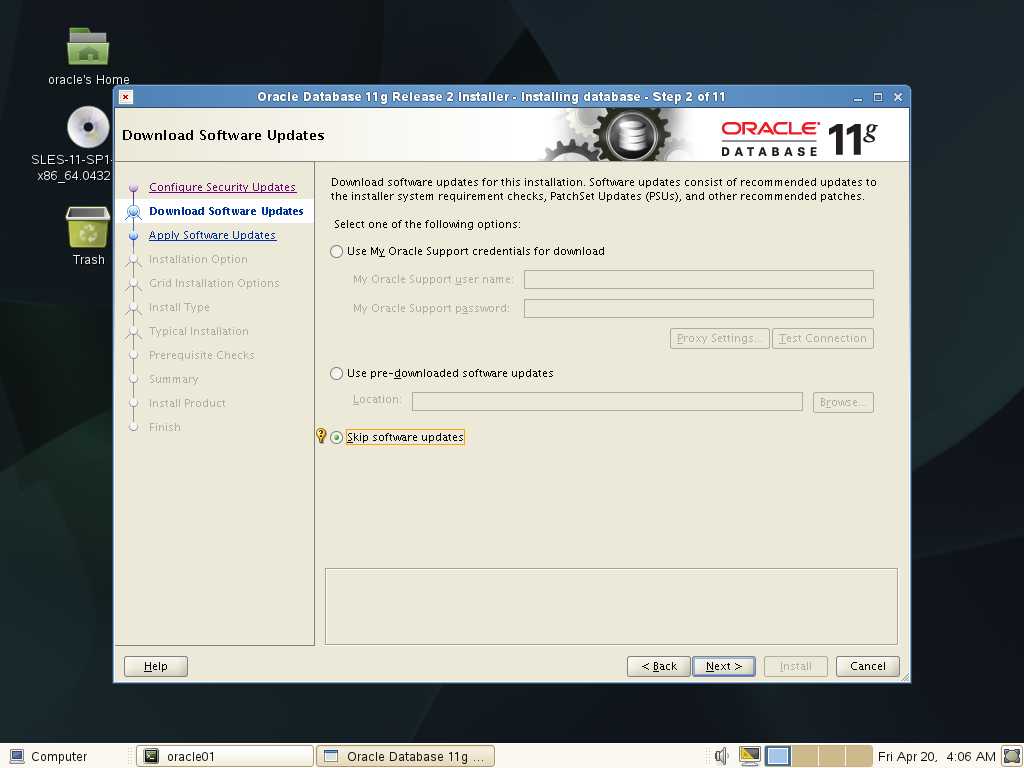
选择不更新
选择跳过更新
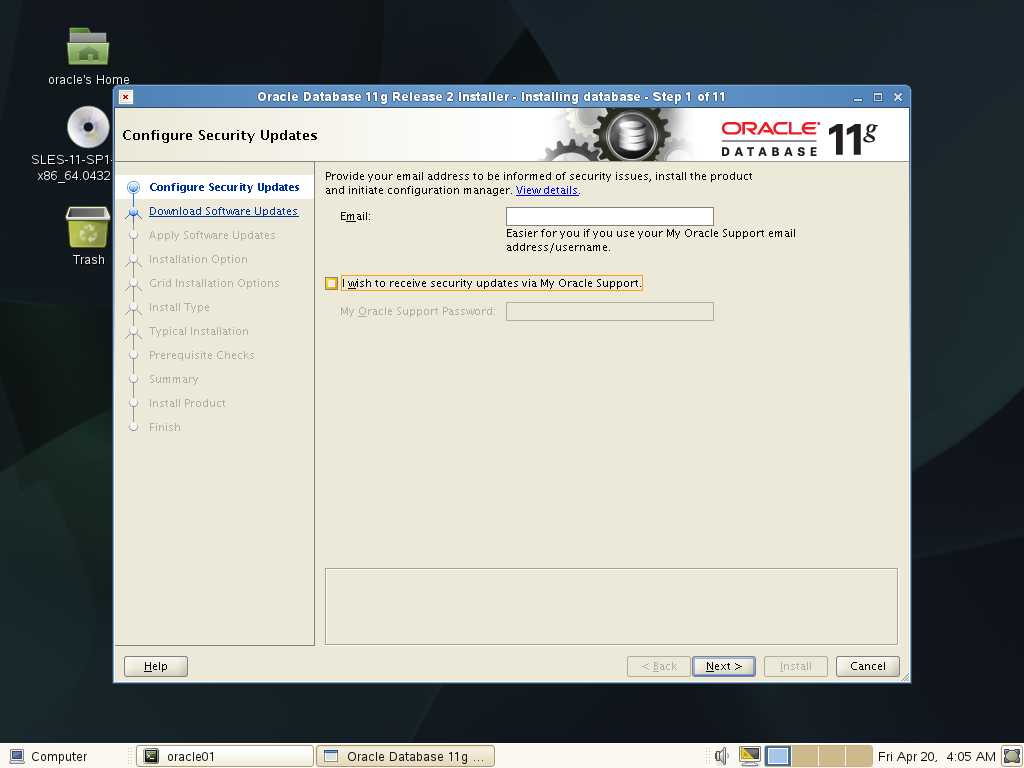
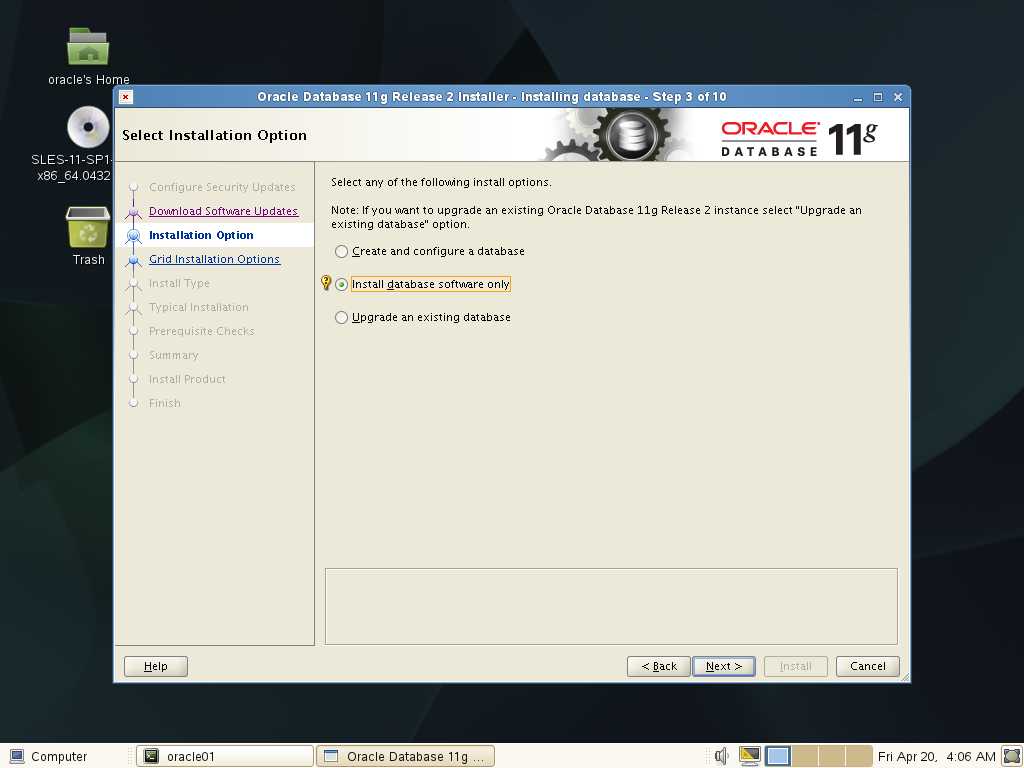
选择仅安装数据库软件
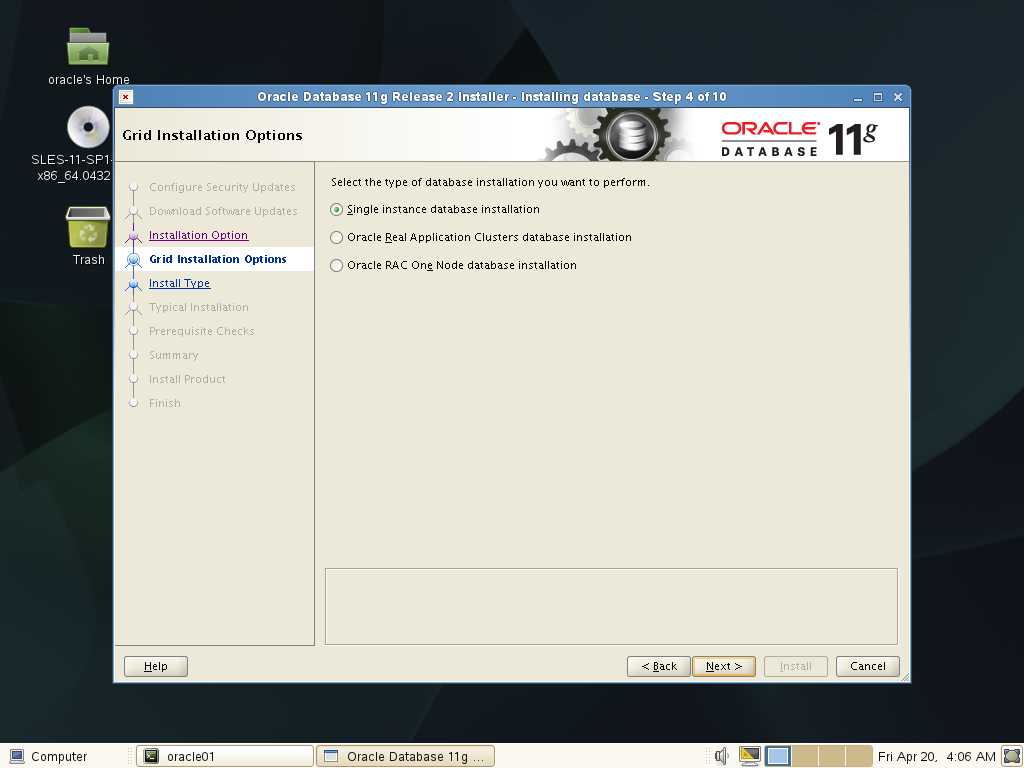
选择单实例数据库
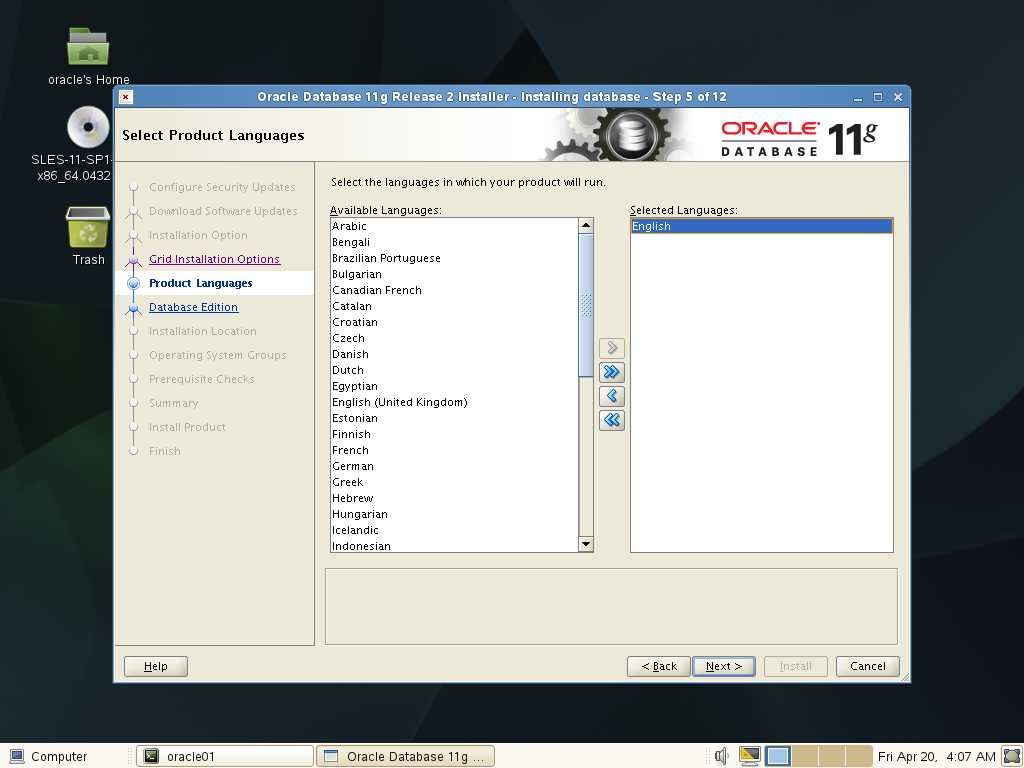
选择语言
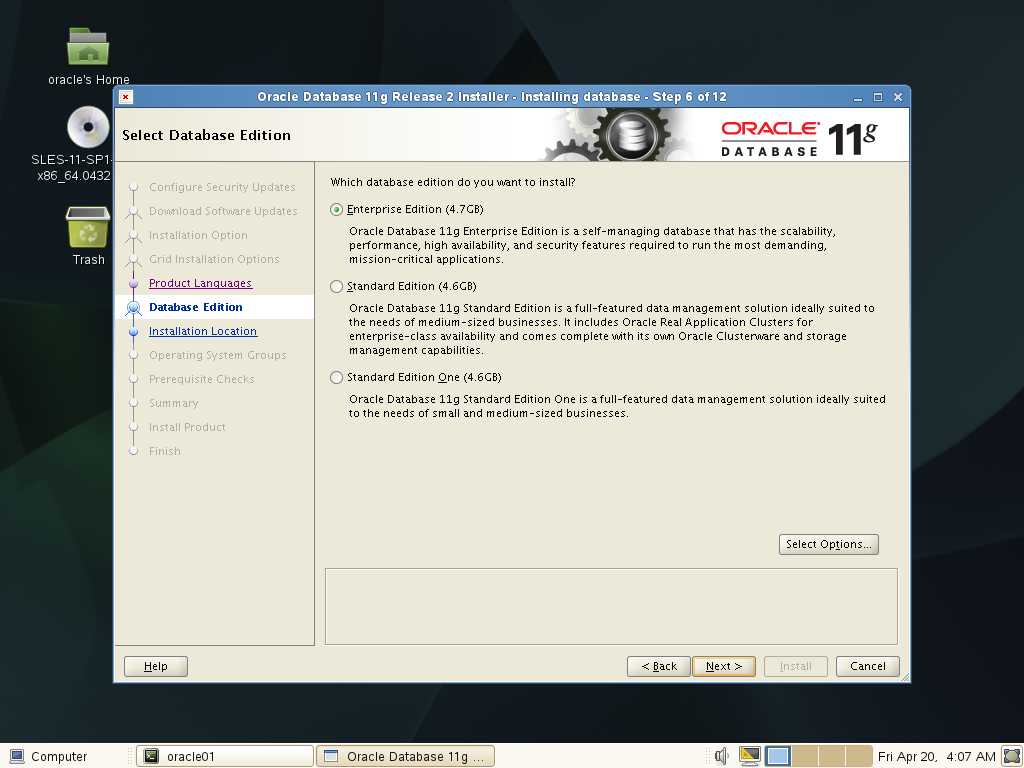
选择企业版
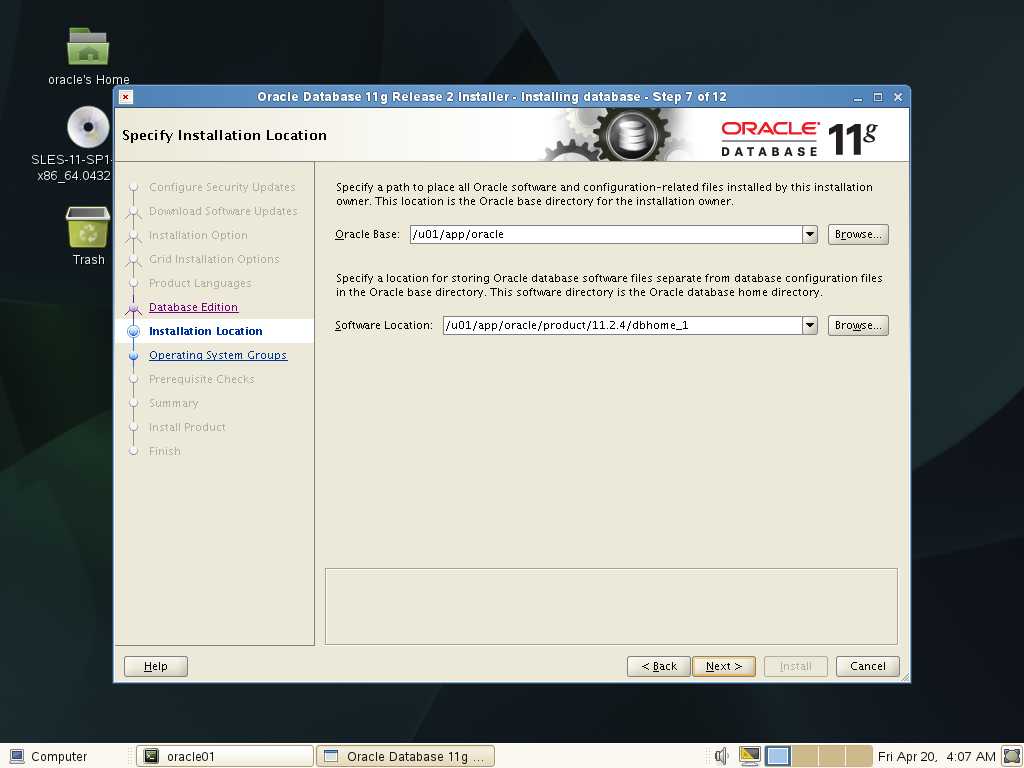
选择下一步
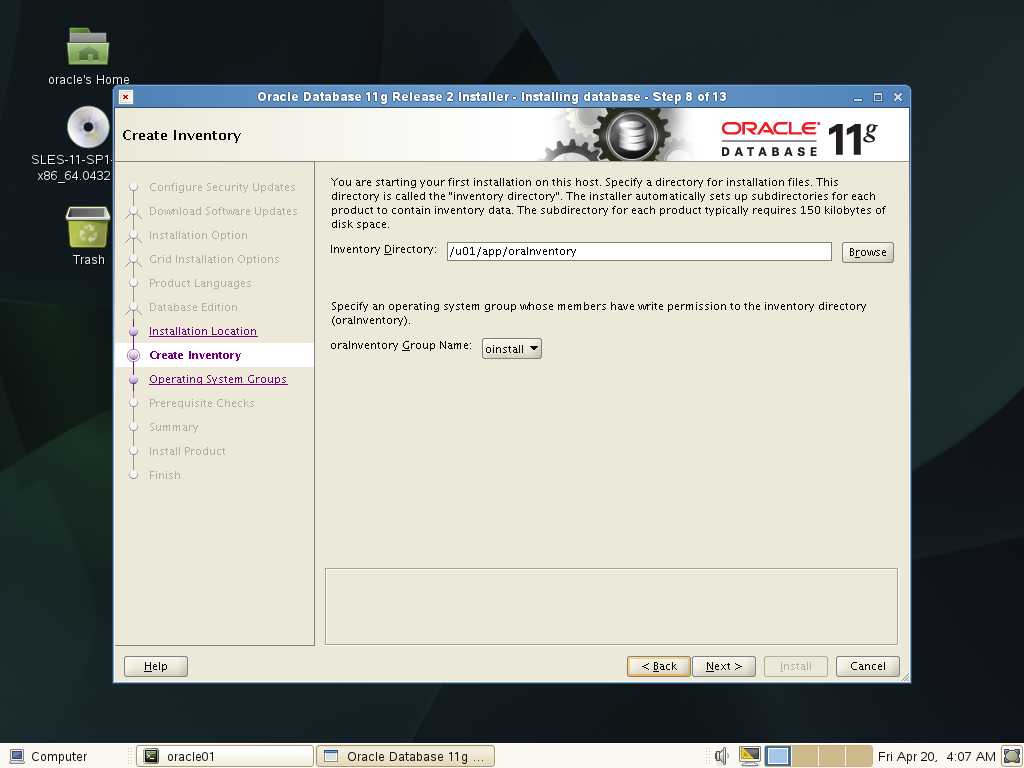
选择下一步
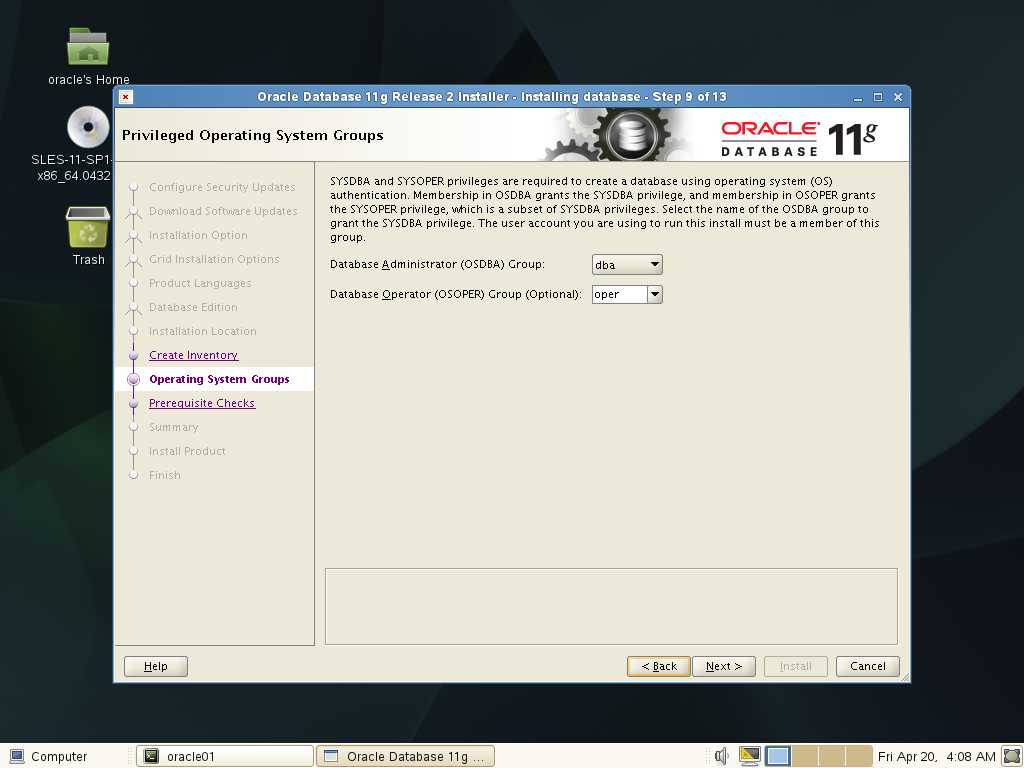
选择下一步
这里需要打开/sysctl.conf文件修改一下参数
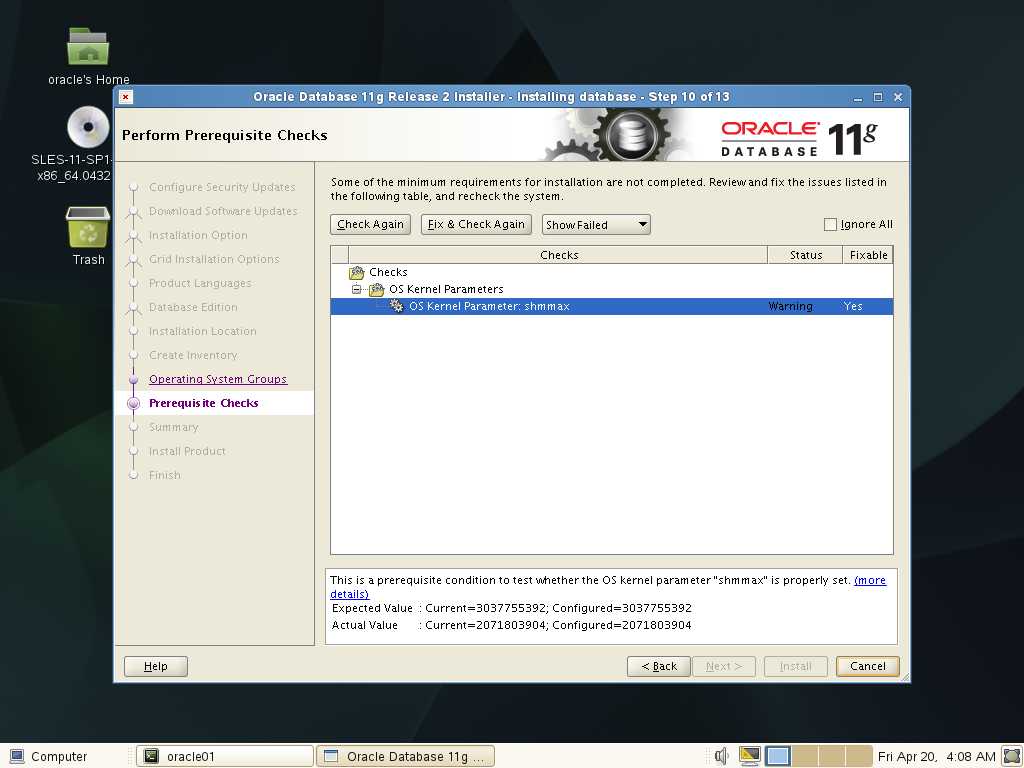

将shmmax参数改为要求的参数
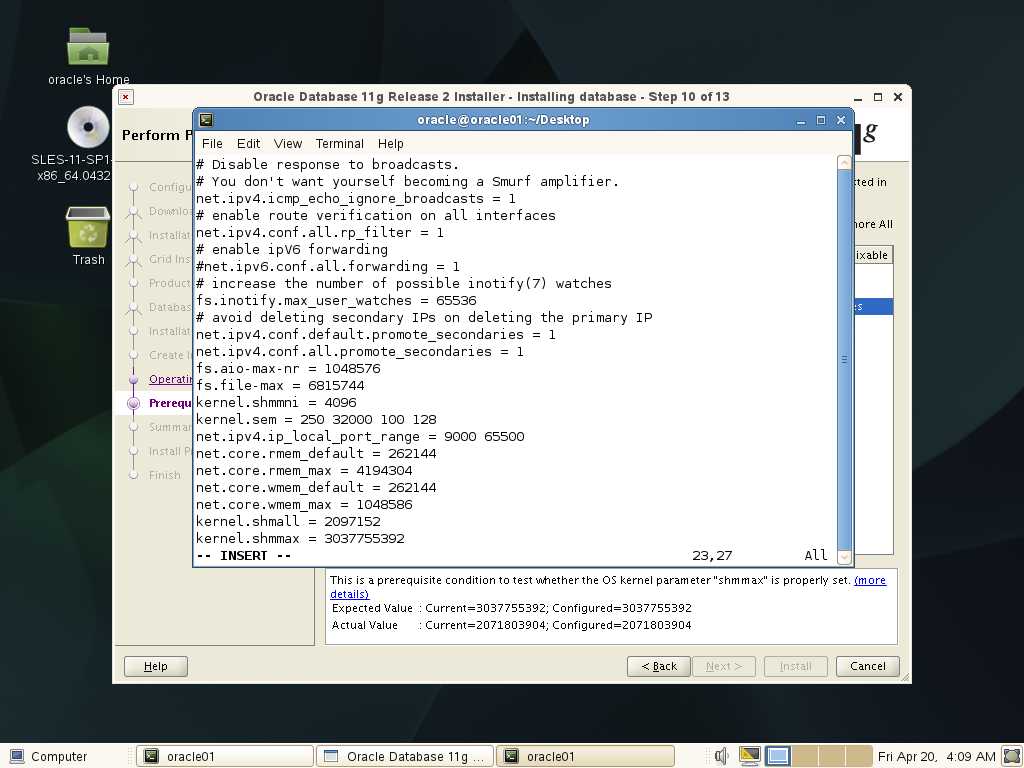
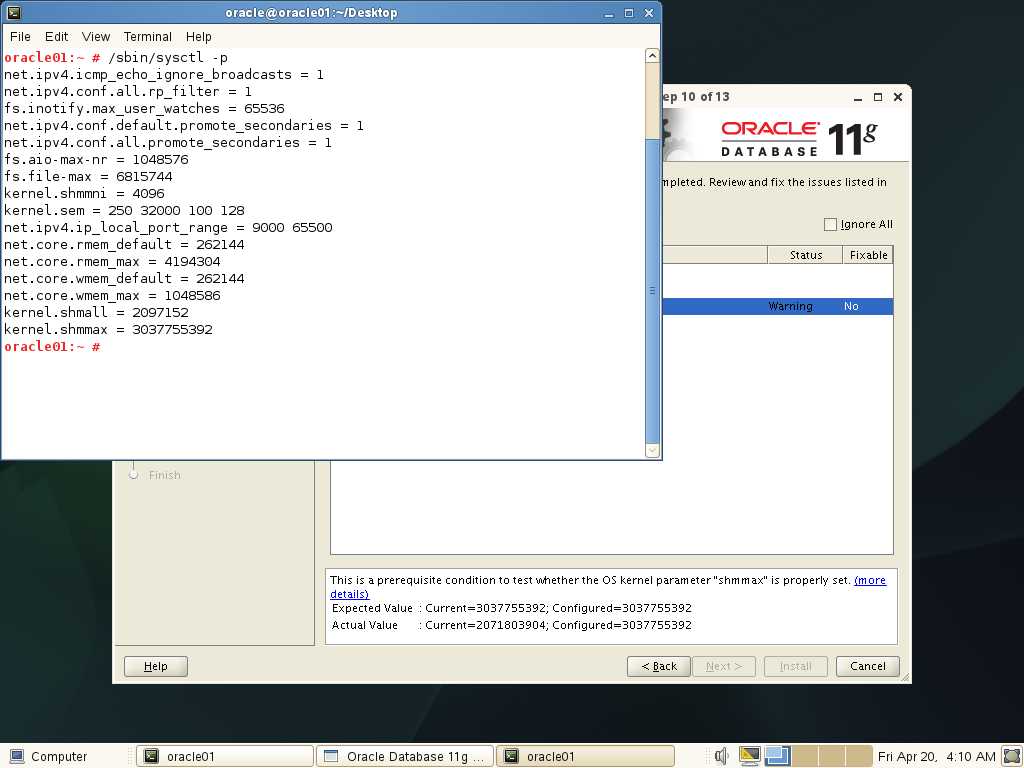
刷新到内存
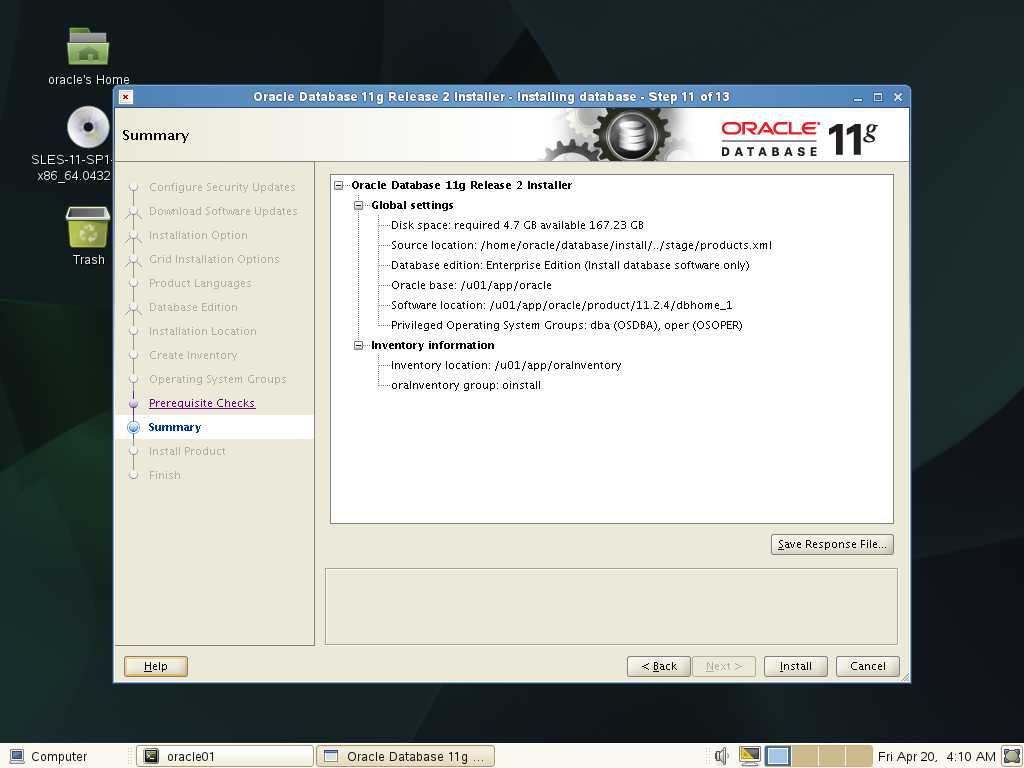
选择安装
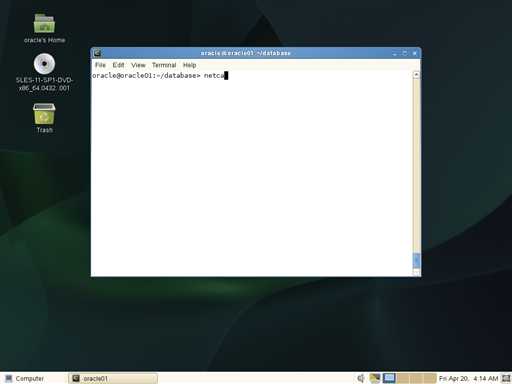
在终端输入这两行命令
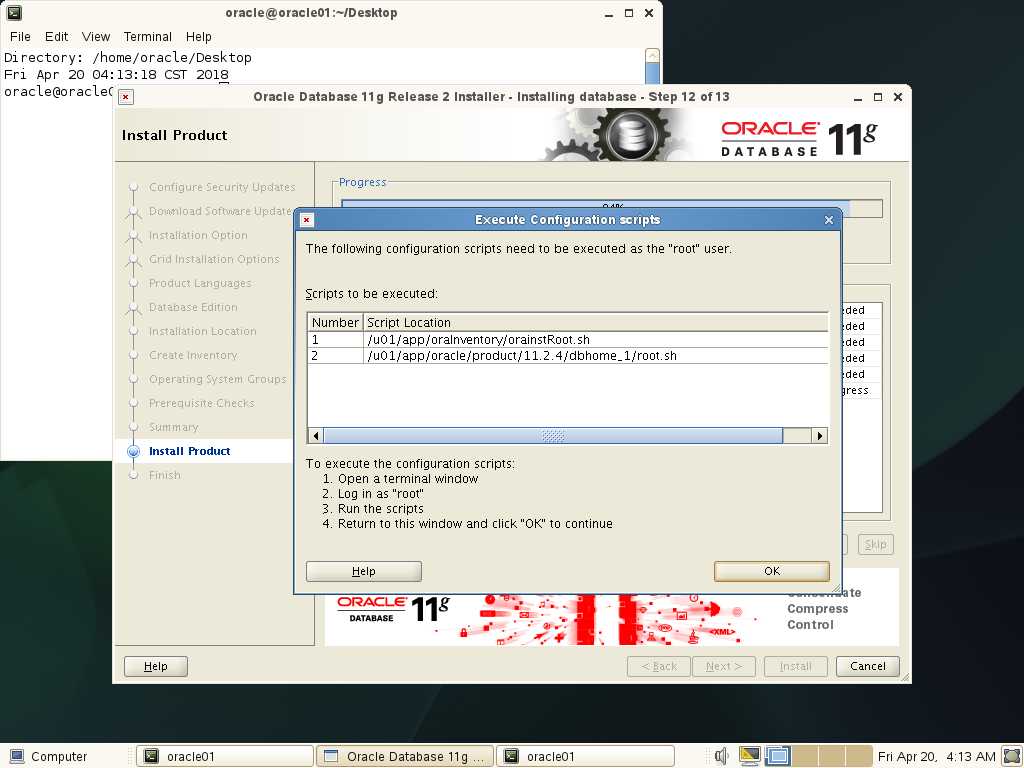
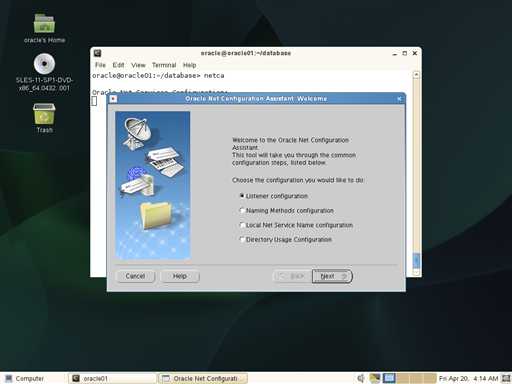
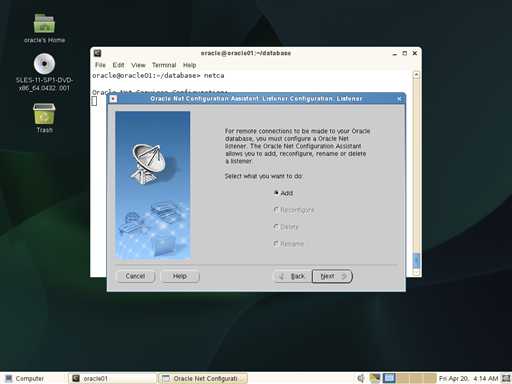
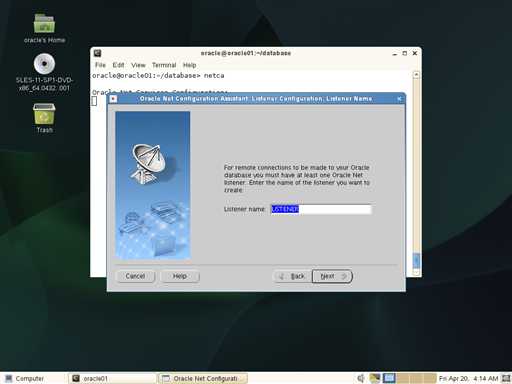
打开监听
选择下一步
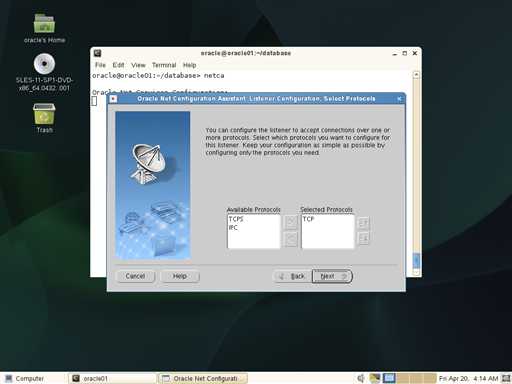
选择下一步
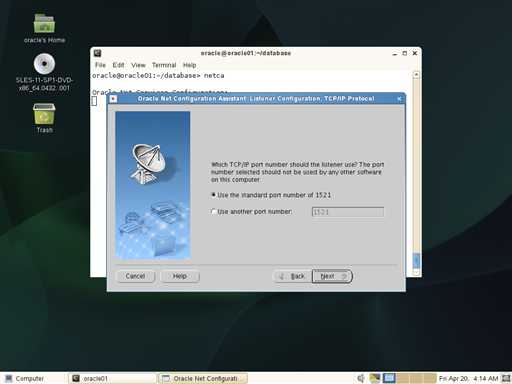
选择下一步
选择下一步
选择下一步
选择下一步

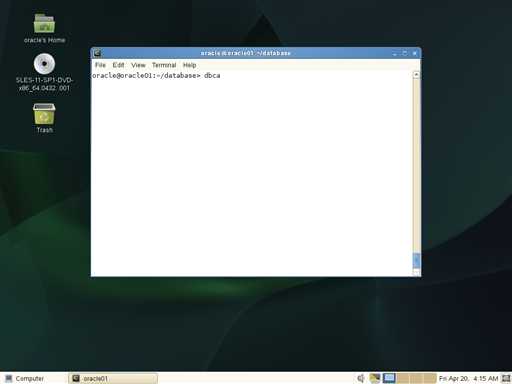
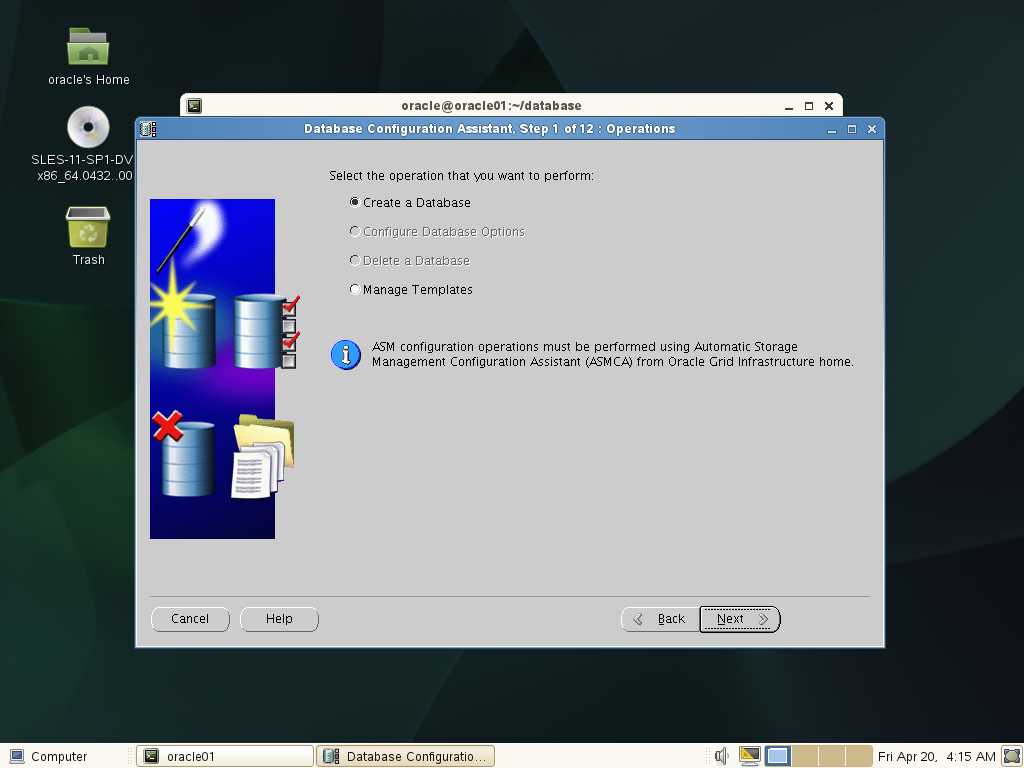
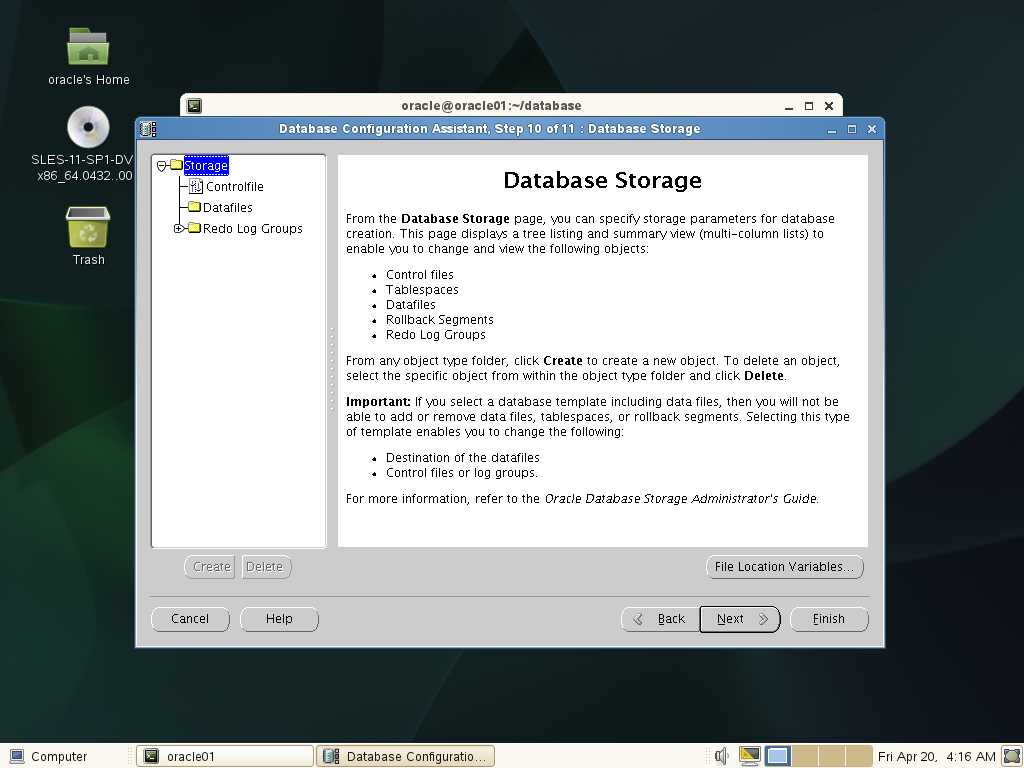
启动数据库配置
选择下一步
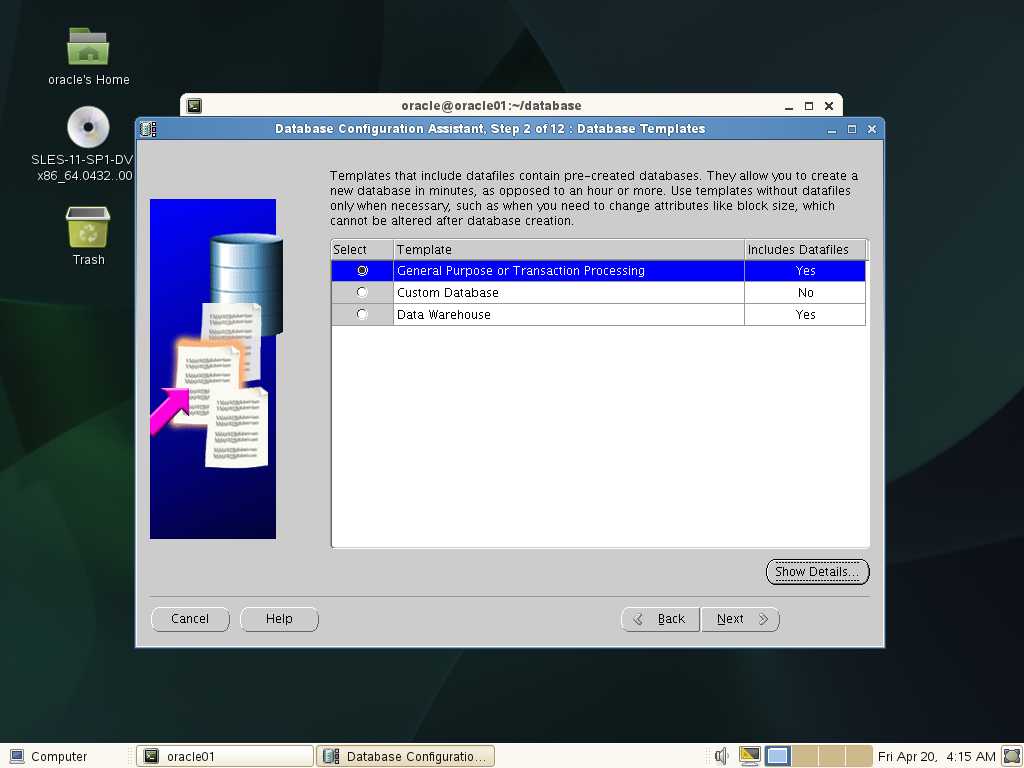
选择下一步
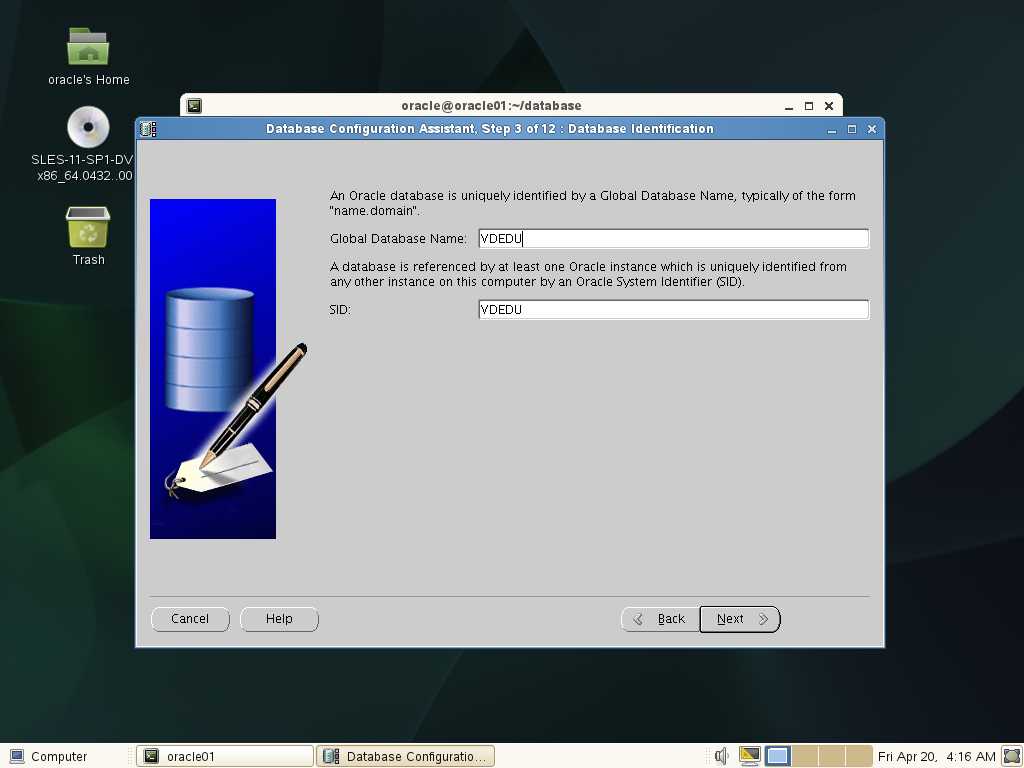
选择下一步
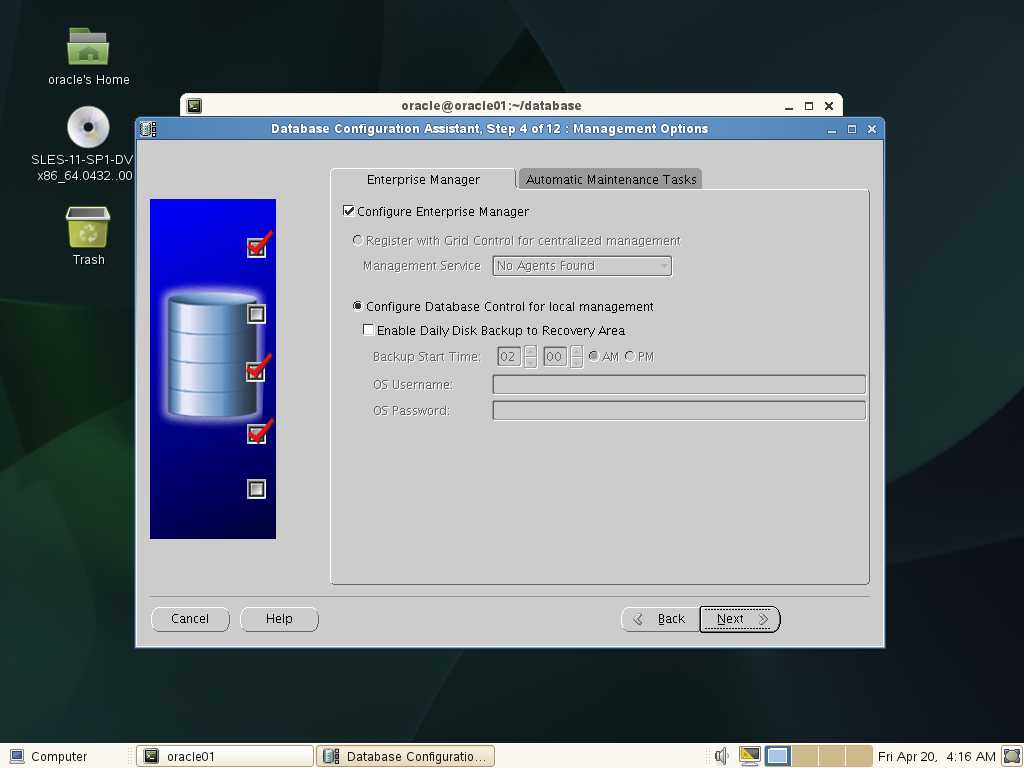
选择下一步
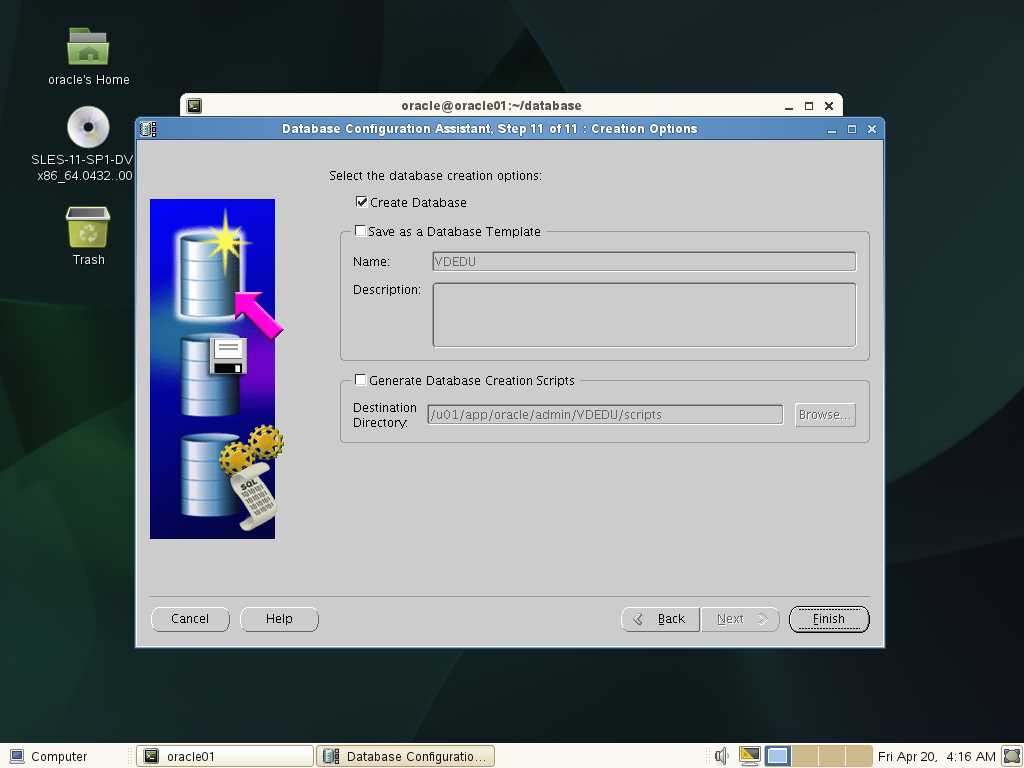
输入密码
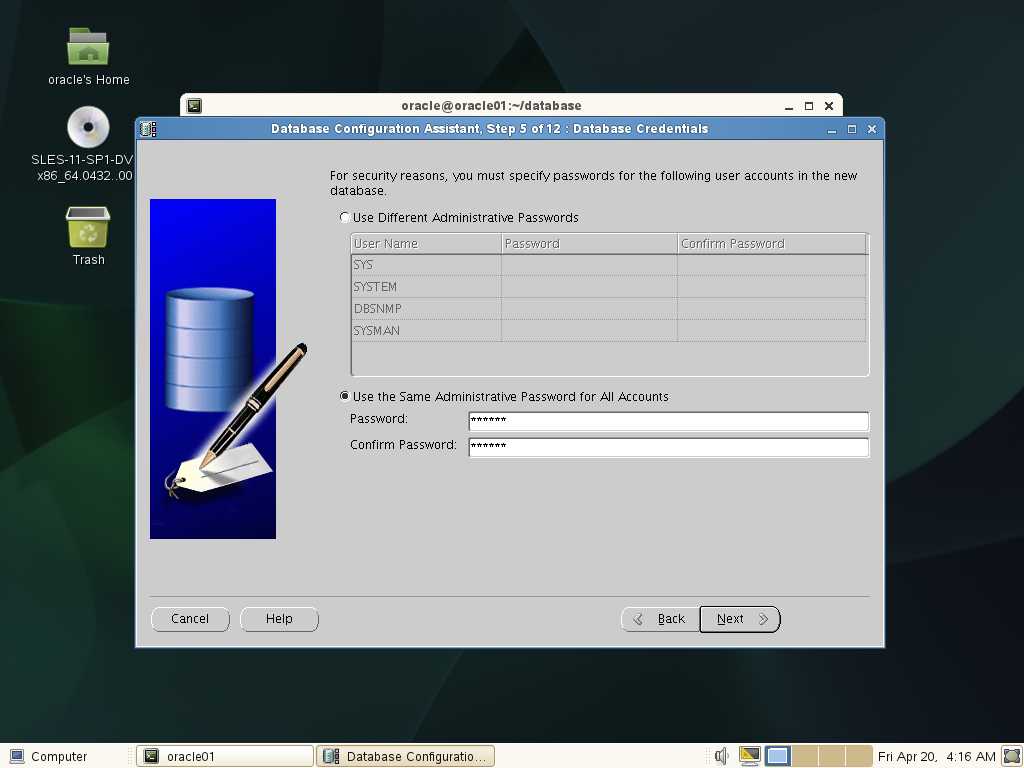
选择下一步

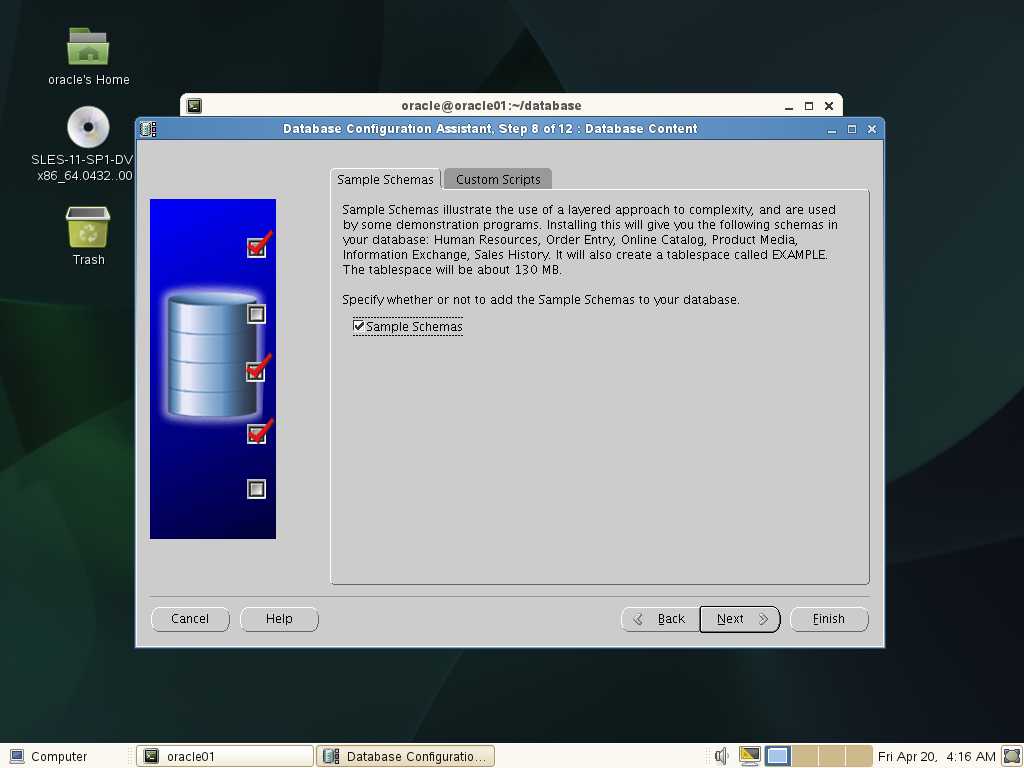
选择下一步
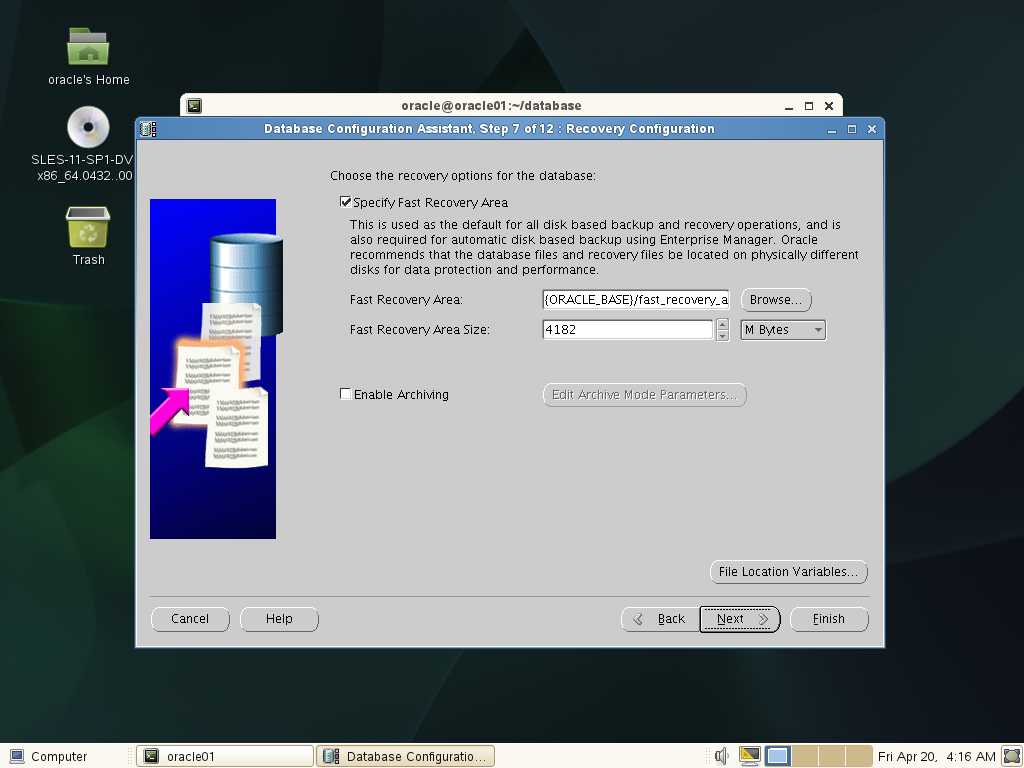
选择下一步
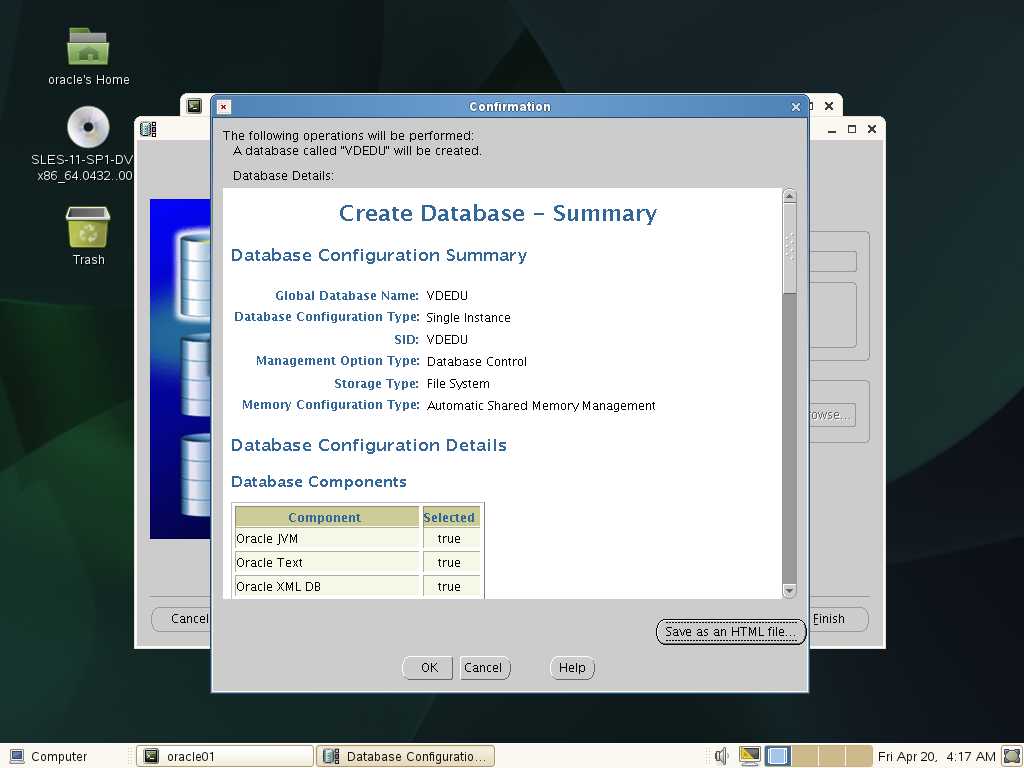
选择UTF-8字符集
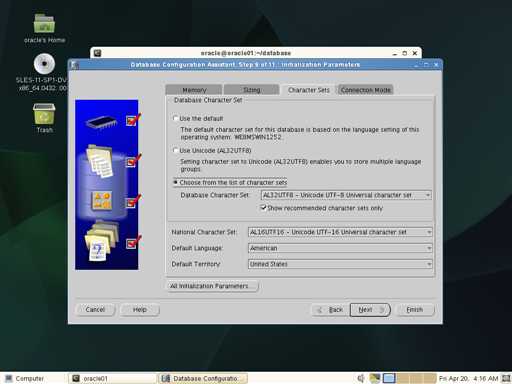
选择下一步
选择下一步
选择下一步
关闭防火墙
附录
[root@linux01 ~]# rpm -ivh pdksh-5.2.14-30.x86_64.rpm
warning: pdksh-5.2.14-30.x86_64.rpm: Header V3 DSA/SHA1 Signature, key ID 73307de6: NOKEY
Preparing… ########################################### [100%]
1:pdksh ########################################### [100%]
mkdir /kingsql
su –
mount /dev/cdrom /kingsql
[root@localhost ~]# vi /etc/yum.repos.d/kingsql.repo
[kingsql]
name=kingsql
baseurl=file:///kingsql
enabled=1
gpgcheck=0
gpgkey=file:///kingsql/RPM-GPG-KEY-redhat-release
[root@rac01 yum.repos.d]# mkdir -p /rpm
[root@rac01 yum.repos.d]# cd /rpm
[root@rac01 rpm]cp /kingsql/Packages/* /rpm/
rpm -ivh vsftpd-2.2.2-12.el6_5.1.x86_64.rpm
rpm -ivh deltarpm-3.5-0.5.20090913git.el6.x86_64.rpm
rpm -ivh python-deltarpm-3.5-0.5.20090913git.el6.x86_64.rpm
rpm -ivh libxml2-2.7.6-14.el6_5.2.x86_64.rpm
rpm -ivh libxml2-python-2.7.6-14.el6_5.2.x86_64.rpm
rpm -ivh createrepo-0.9.9-22.el6.noarch.rpm
[root@rac01 rpm]# createrepo ./
[root@rac01 rpm]# yum clean all
[root@rac01 rpm]# yum makecache
yum install -y libXp* xterm* unixODBC* sysstat* make* libstdc++* libgomp* libgcc* libaio* kernel-headers* glibc* gcc* elfutils* binutils* bind bind-devel bind-chroot caching-nameserver compat-libcap1* compat-libstdc++-33* openssh* xdpyinfo vi unzip
systemctl disable avahi-daemon.service 关闭进程
[root@localhost ~]# chkconfig avahi-daemon off
注意:正在将请求转发到“systemctl disable avahi-daemon.service”。
Removed symlink /etc/systemd/system/multi-user.target.wants/avahi-daemon.service.
Removed symlink /etc/systemd/system/sockets.target.wants/avahi-daemon.socket.
Removed symlink /etc/systemd/system/dbus-org.freedesktop.Avahi.service.
[root@localhost ~]# ps -ef | grep avahi
avahi 823 1 0 10:06 ? 00:00:00 avahi-daemon: running [linux.local]
avahi 859 823 0 10:06 ? 00:00:00 avahi-daemon: chroot helper
root 16790 16206 0 10:27 pts/0 00:00:00 grep –color=auto avahi
[root@localhost ~]# kill -9 823
[root@localhost ~]# ps -ef | grep avahi
root 16794 16206 0 10:27 pts/0 00:00:00 grep –color=auto avahi
[root@localhost ~]# vi /etc/sysconfig/network
# Created by anaconda
NOZEROCONF=yes
vi /etc/selinux/config
# This file controls the state of SELinux on the system.
# SELINUX= can take one of these three values:# enforcing – SELinux security policy is enforced.
# permissive – SELinux prints warnings instead of enforcing.
# disabled – No SELinux policy is loaded.
SELINUX=disabled
# SELINUXTYPE= can take one of these two values:
# targeted – Targeted processes are protected,
# mls – Multi Level Security protection.
[root@localhost ~]# systemctl stop firewalld
[root@localhost ~]# systemctl disable firewalld
Removed symlink /etc/systemd/system/multi-user.target.wants/firewalld.service.
Removed symlink /etc/systemd/system/dbus-org.fedoraproject.FirewallD1.service.
[root@db12c ~]# firewall-cmd –state
not running
groupadd -g 2100 oinstall
groupadd -g 2300 dba
groupadd -g 2301 oper
useradd -m -u 1101 -g oinstall -G dba,oper -d /home/oracle -s /bin/bash -c “Oracle Software Owner” oracle
passwd oracle
mkdir -p /u01/app/oracle
chown -R oracle:oinstall /u01
chmod -R 775 /u01
ls -lR /u01
su – oracle
[oracle@linux01 ~]$ vi .bash_profile
# .bash_profile
# Get the aliases and functions
if [ -f ~/.bashrc ]; then
. ~/.bashrc
fi
# User specific environment and startup programs
PATH=$PATH:$HOME/bin
export PATH
export ORACLE_BASE=/u01/app/oracle
export ORACLE_HOME=/u01/app/oracle/product/11.2.4/dbhome_1
export ORACLE_SID=VDEDU # (这里注意输入自己设的SID)
export ORACLE_TERM=xterm
export PATH=/usr/sbin:$PATH
export PATH=/u01/app/ogg:$ORACLE_HOME/bin:$PATH
export LD_LIBRARY_PATH=/u01/app/ogg:$ORACLE_HOME/lib:/lib:/usr/lib:$LD_LIBRARY_PATH
export CLASSPATH=$ORACLE_HOME/JRE:$ORACLE_HOME/jlib:$ORACLE_HOME/rdbms/jlib
export NLS_DATE_FORMAT=”yyyy-mm-dd HH24:MI:SS”
export NLS_LANG=AMERICAN_AMERICA.AL32UTF8
export LANG=C
export ORACLE_UNQNAME=VDEDU # 同上
source .bash_profile 刷新一下文件
[oracle@linux01 ~]su –
[root@linux01 ~]#vi /etc/sysctl.conf
fs.aio-max-nr = 1048576
fs.file-max = 6815744
kernel.shmmni = 4096
kernel.sem = 250 32000 100 128
net.ipv4.ip_local_port_range = 9000 65500
net.core.rmem_default = 262144
net.core.rmem_max = 4194304
net.core.wmem_default = 262144
net.core.wmem_max = 1048586
[root@linux01 ~]# /sbin/sysctl -p
[root@linux01 ~]# vi /etc/security/limits.conf
oracle soft nproc 2047 # 警告设定所有用户最大打开进程数为2047
oracle hard nproc 16384 # 严格设定所有用户最大打开进程数为16384
oracle soft nofile 1024 # 警告设定所有用户最大打开文件数为1024
oracle hard nofile 65536 # 严格设定所有用户最大打开文件数为65536
#soft 表示警告的设定,可以超过这个设定值,但是超过会有警告信息
#hard 表示严格的设定,必定不能超过这个设定的值
[root@linux01 ~]# vi /etc/pam.d/login
session required /lib64/security/pam_limits.so
#要使 limits.conf 文件配置生效,必须要确保pam_limits.so文件被加入到启动文件中。
#查看 /etc/pam.d/login 文件中有:
#session required /lib/security/pam_limits.so
export DISPLAY=:0.0
xhost +