下载源码包

建立组和用户
groupadd mysql
useradd -r -g mysql -s /bin/false mysql
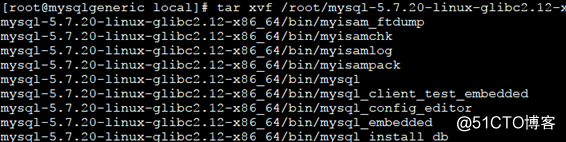
解压
解压mysql
tar xvf /root/mysql-5.7.20-linux-glibc2.12-x86_64.tar.gz
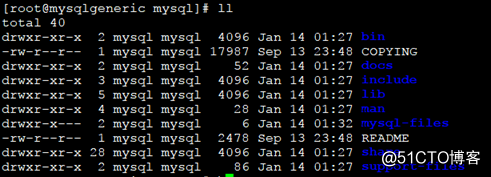
做软连接
ln -s mysql-5.7.20-linux-glibc2.12-x86_64/ mysql

cd mysql
mkdir mysql-files

chown -R mysql.mysql /usr/local/mysql

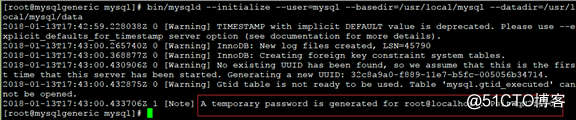
数据库初始化
bin/mysqld –initialize –user=mysql –basedir=/usr/local/mysql –datadir=/usr/local/mysql/data
建立my.cnf文件
cp -rf /etc/my.cnf /etc/my.cnf.bak

编辑my.cnf文件
vi /etc/my.cnf
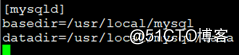
[mysqld]
basedir=/usr/local/mysql
datadir=/usr/local/mysql/data
启动mysql
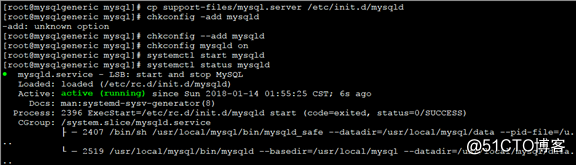
cp support-files/mysql.server /etc/init.d/mysqld
chkconfig –add mysqld
chkconfig mysqld on
systemctl start mysqld
systemctl status mysqld
赋予执行权限
chmod a+x /etc/init.d/mysqld

ps aux |grep mysqld

没有特别说明的话都在data目录

修改PATH变量
echo “export PATH=$PATH:/usr/local/mysql/bin” >> /etc/profile
source /etc/profile
echo $PATH

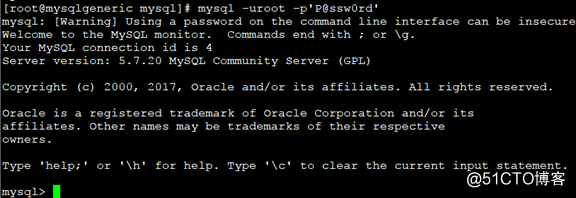
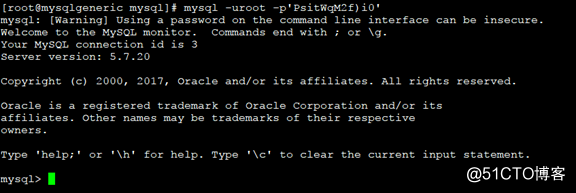
登录数据库
mysql -uroot -p‘PsitWqM2f)i0‘
修改登录密码
mysql> alter user root@‘localhost‘ identified by ‘P@ssw0rd‘;

重新登录